harrybsmith
-
Posts
334 -
Joined
-
Last visited


harrybsmith's Achievements
")
Community Regular (6/12)
274
Reputation
-
 I agree, loading up the generator is a key concern, I'm contemplating all sorts of stuff from an electric shower (as well as a Paloma gas water heater for when the engine isn't running) to an electric towel rail to a bitcoin mine, all as switchable loads to ensure there's always some load on the Genny. Insulation hasn't split, the only slight criticism of my method is it compresses the board on the inner face, which of course excludes the air from inside it, which makes it a bit less insulative
 -
I totally agree, I can even get the engine out the doors with the flywheel housing removed, standard 60cm appliances go with no bother, it's just a lot easier with a boat on the hard to not have to lift them to nearly head height to get them on the stern Also "when are you closing up the big hole in the back of your boat" seems to be the most frequently asked question in real life, and the answer is not for another couple of months yet
-
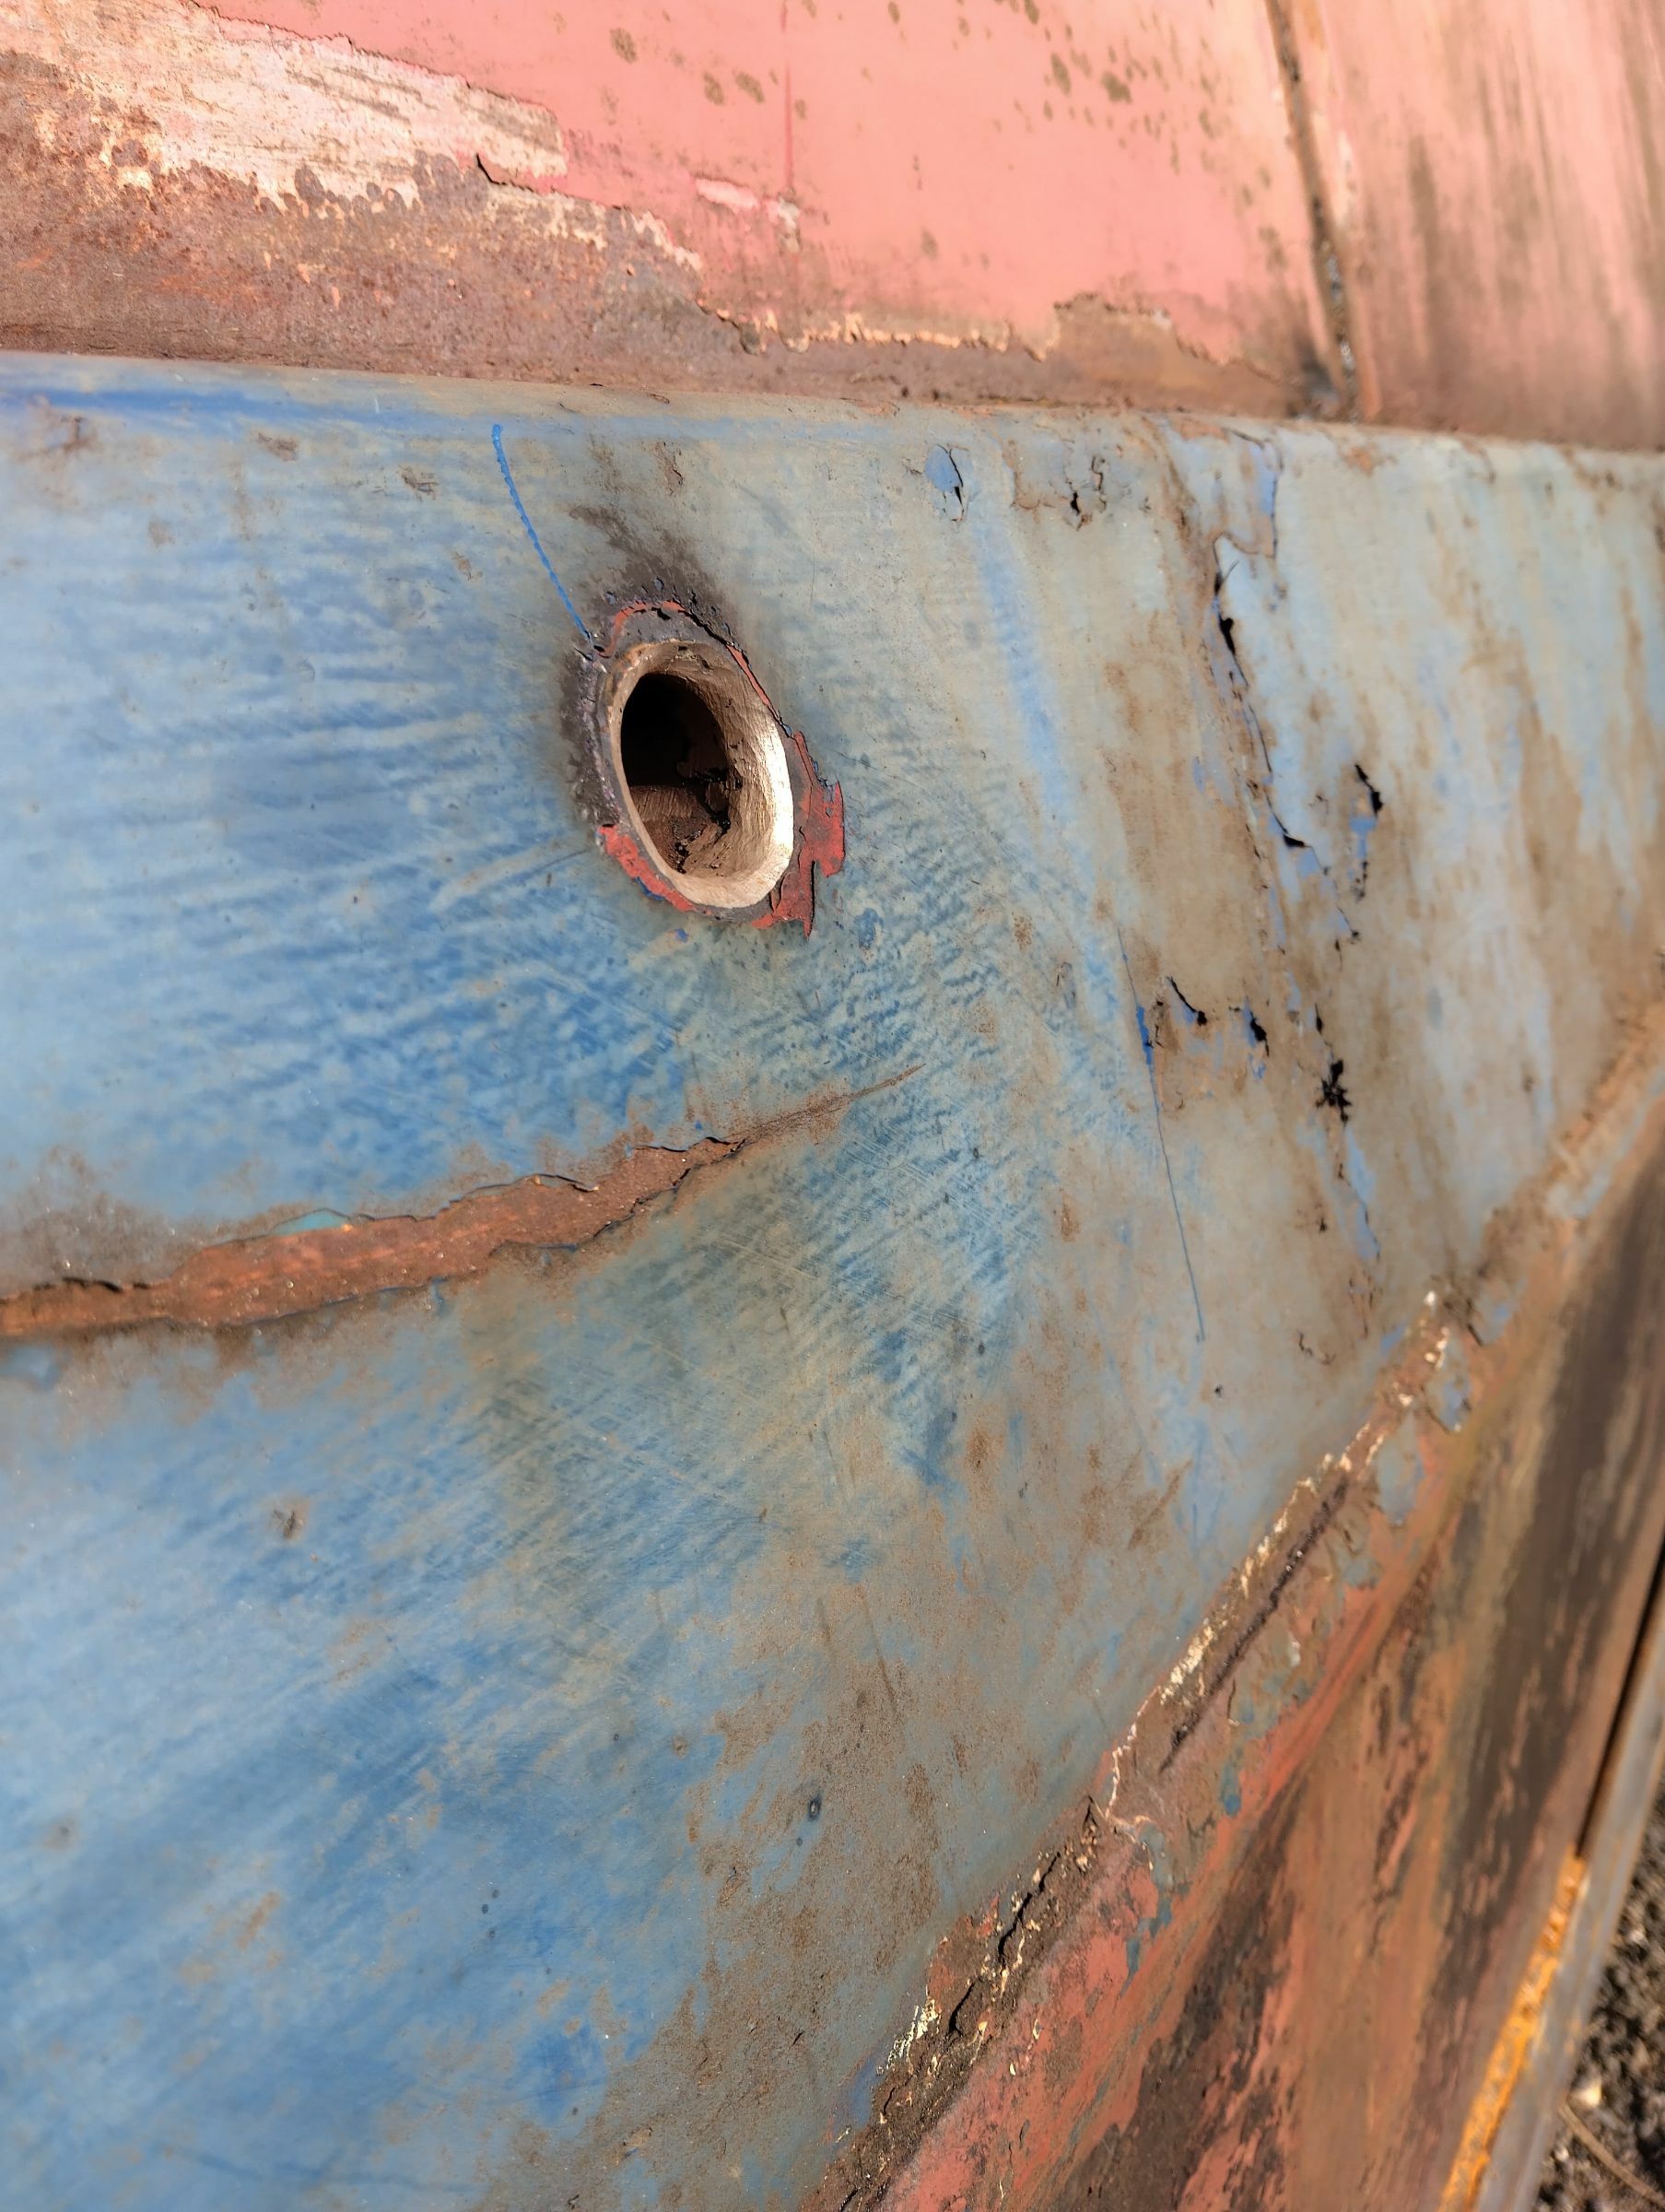
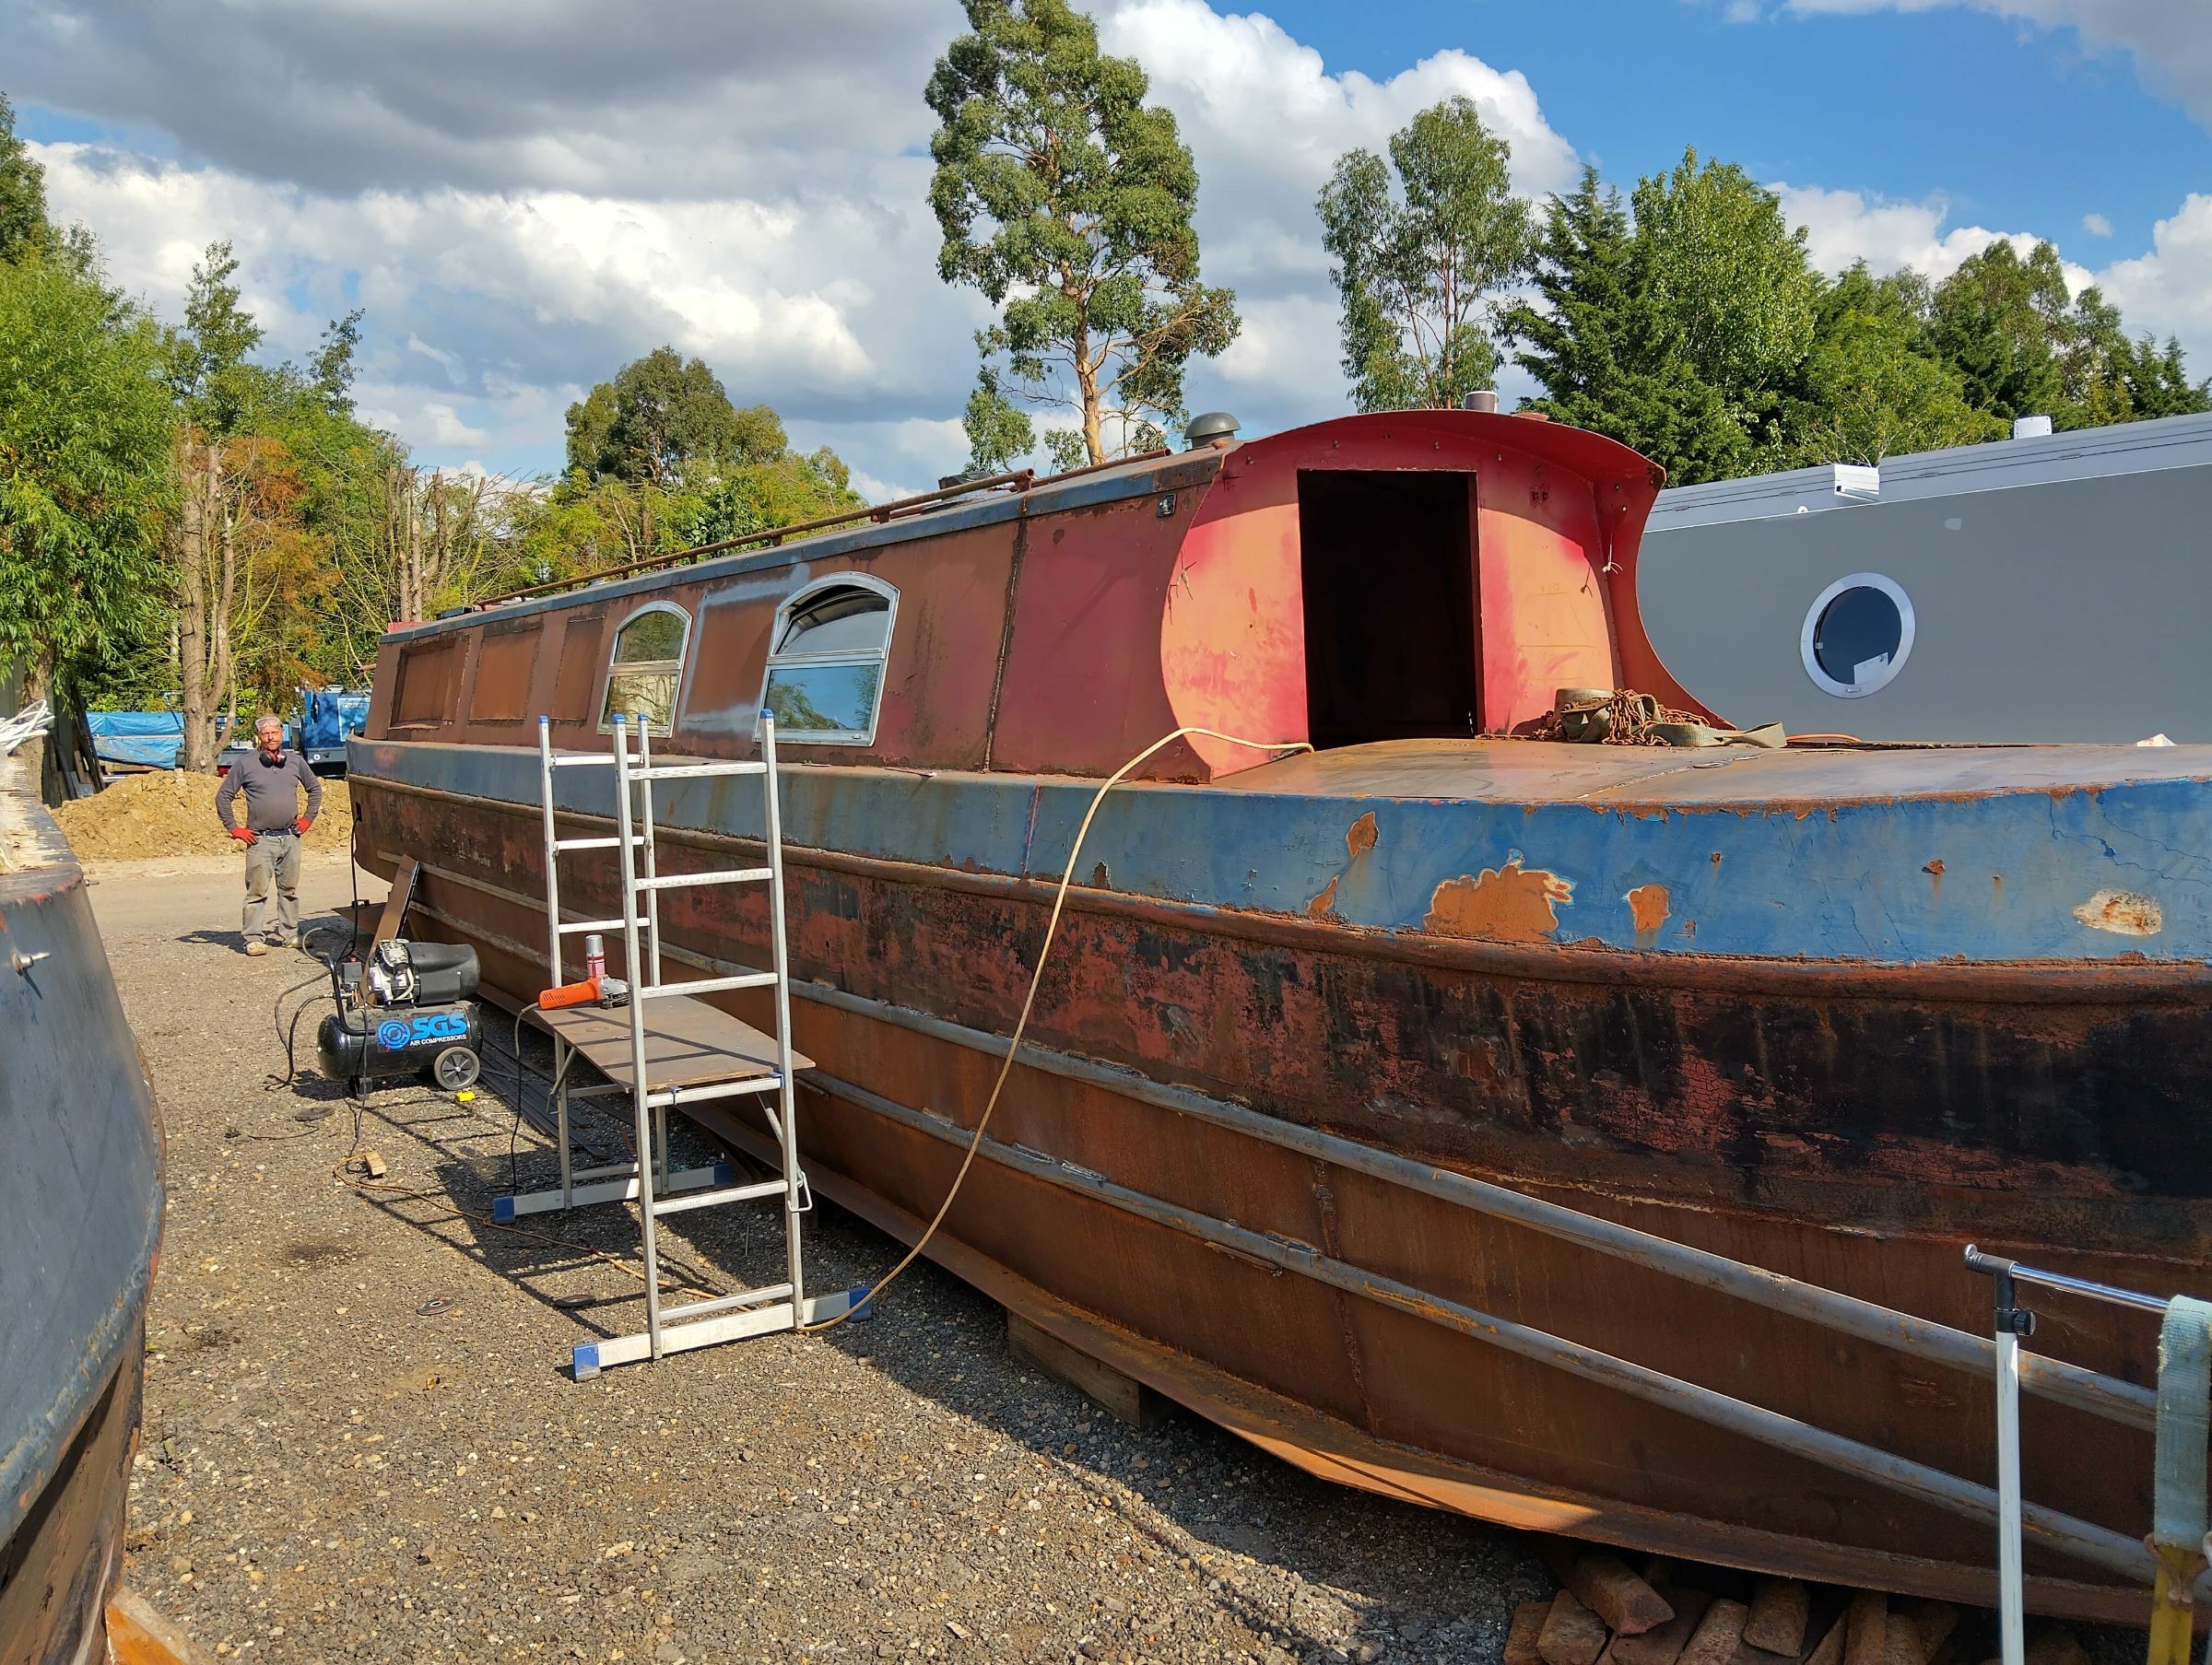
And the rest! The stern is the only area that remains that's unrepaired, and it's atrocious. The tube the bearing sits on (rudder tube?) is seriously frilly and there's a big hole in front of the weed hatch. New uxter plate, a decent chunk of swim and counter repairs all planned, for now I'm making the best of a massive hole to get things like a washing machine and kitchen units in. It really shows that boats tend to deteriorate pretty uniformly, I think the hole that sunk her originally was probably in the bow, but there's been at least 10 holes throughout the hull that all could have
-
Currently registering my project with National Historic Ships (and might see whether HNBC are interested...) If I had a silly amount of money i'd buy Mabel and Forget Me Not (which I believe are still for sale, keeping on topic) and return them to hotel boat guise, a "Frobisher" style narrowboat with horrible sildey plastic roof and a Taylors cruiser. All historically significant and not really preserved much
-
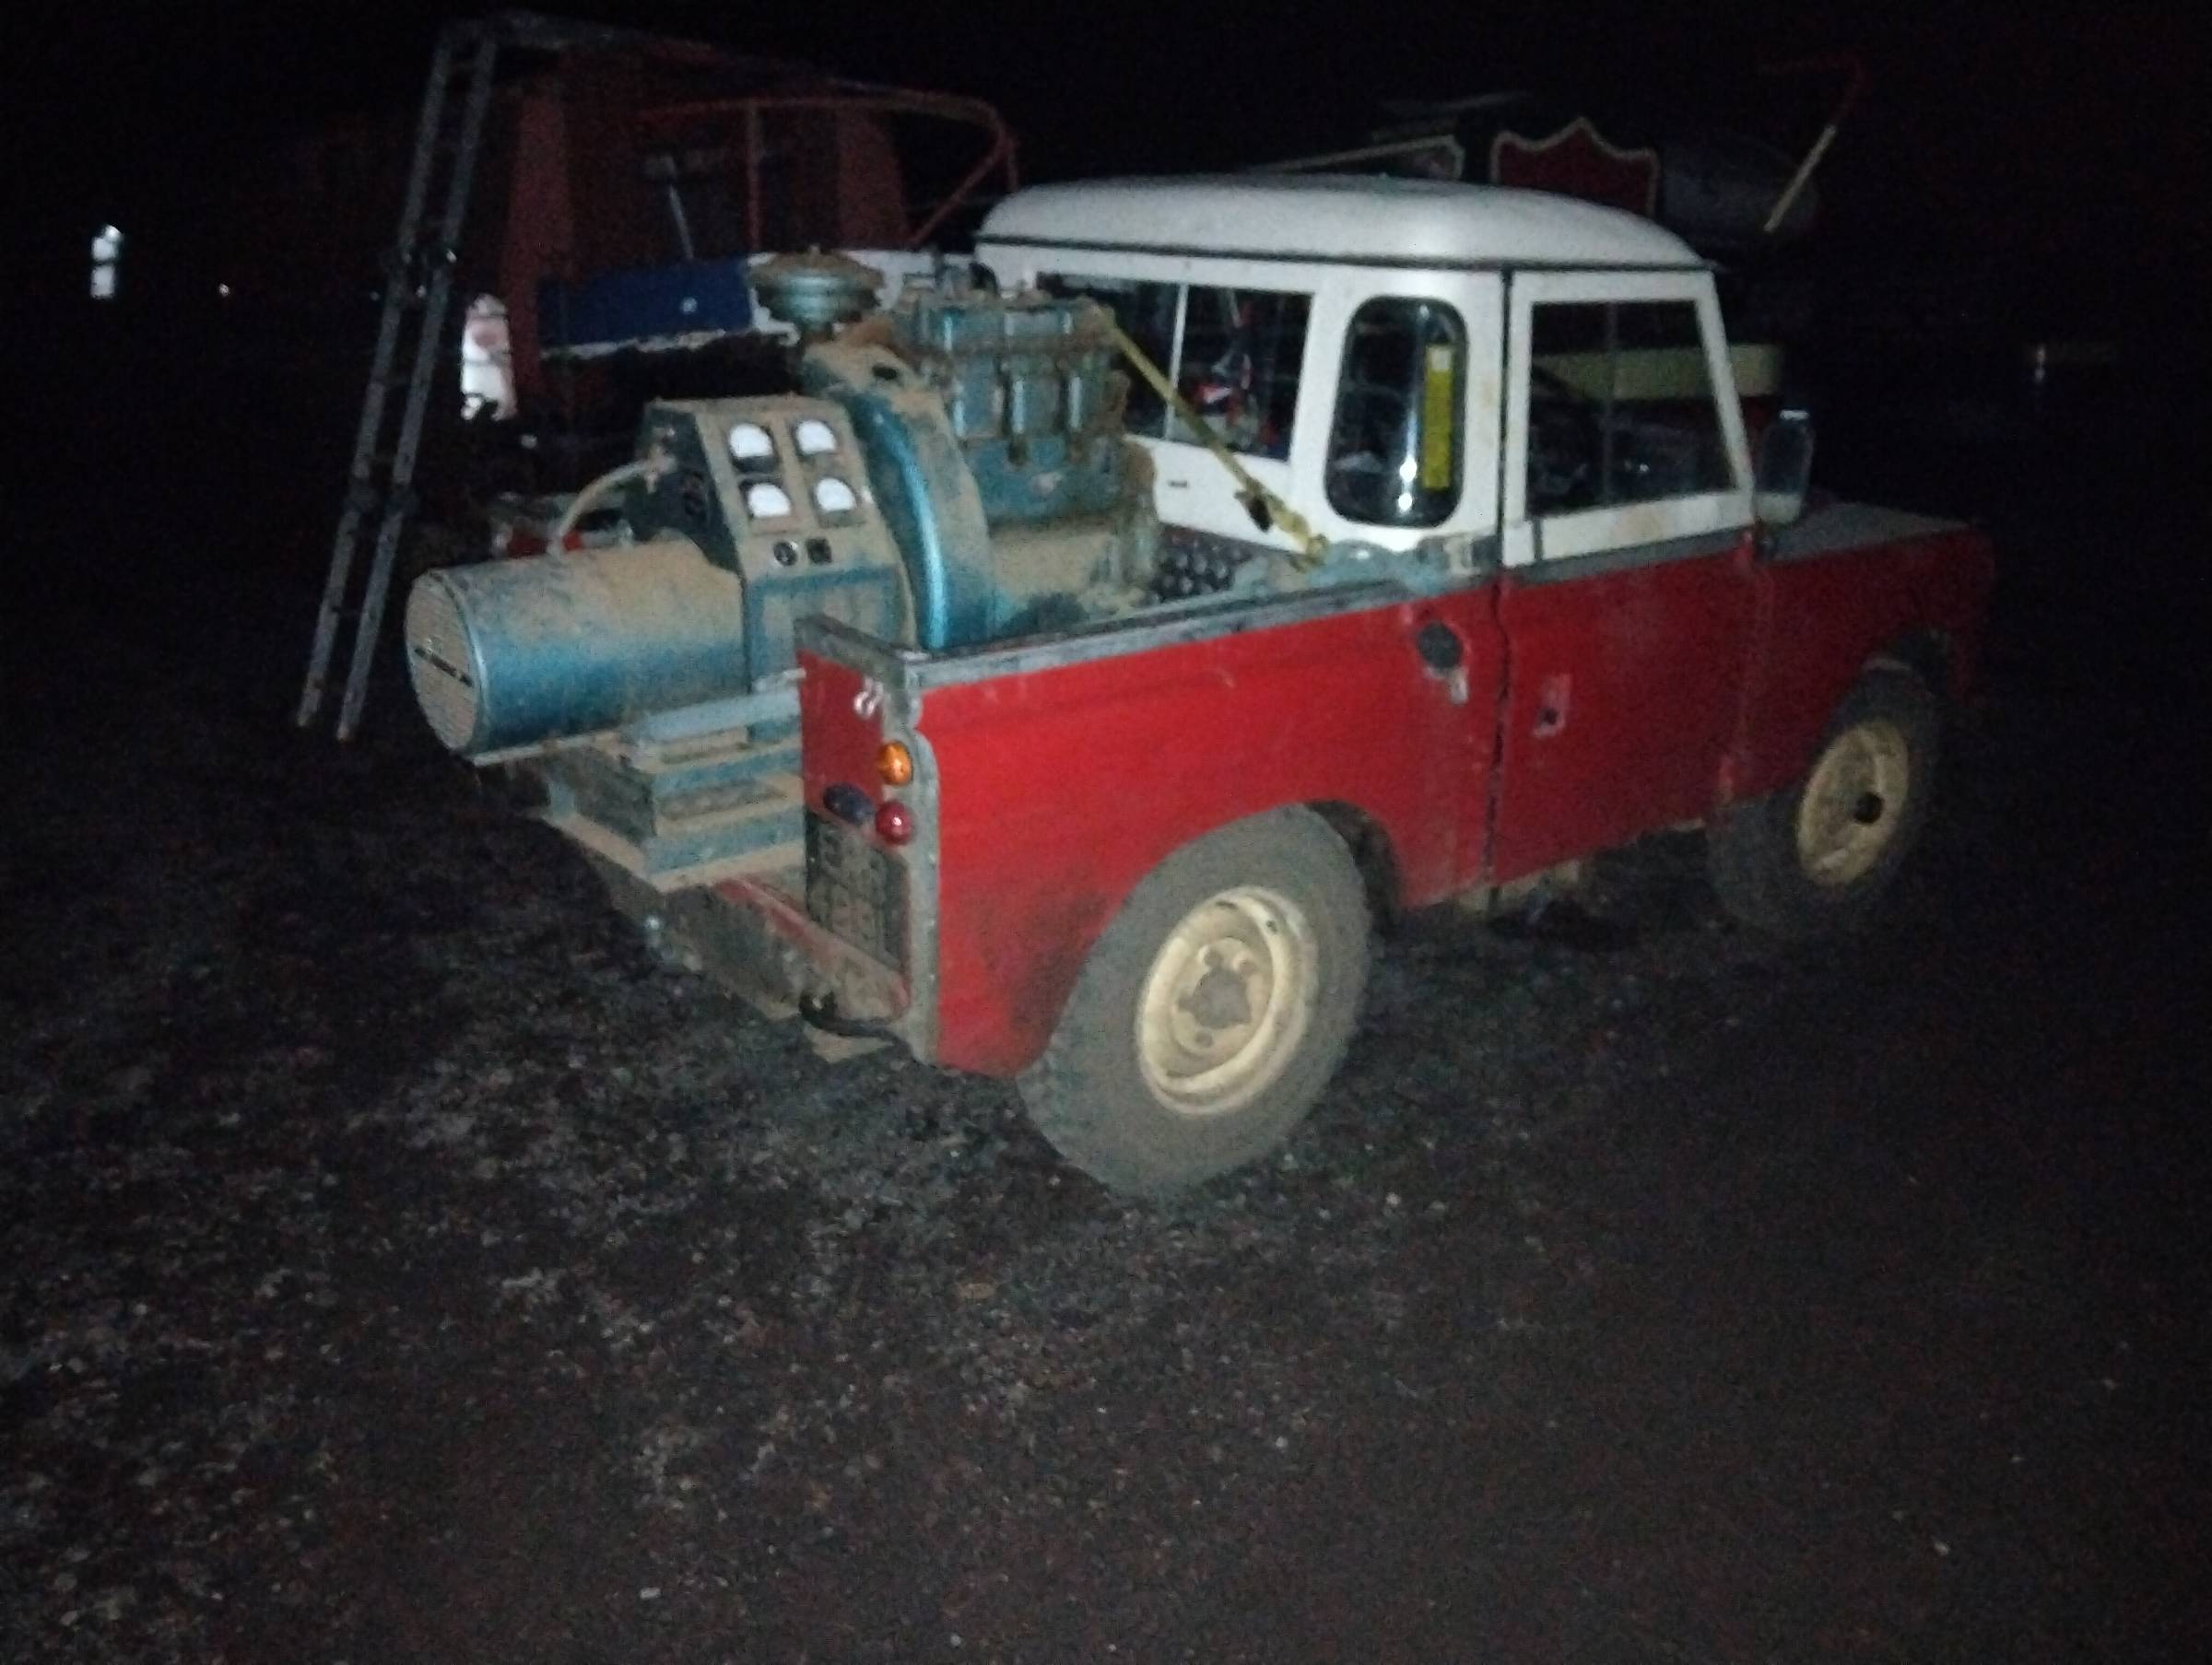
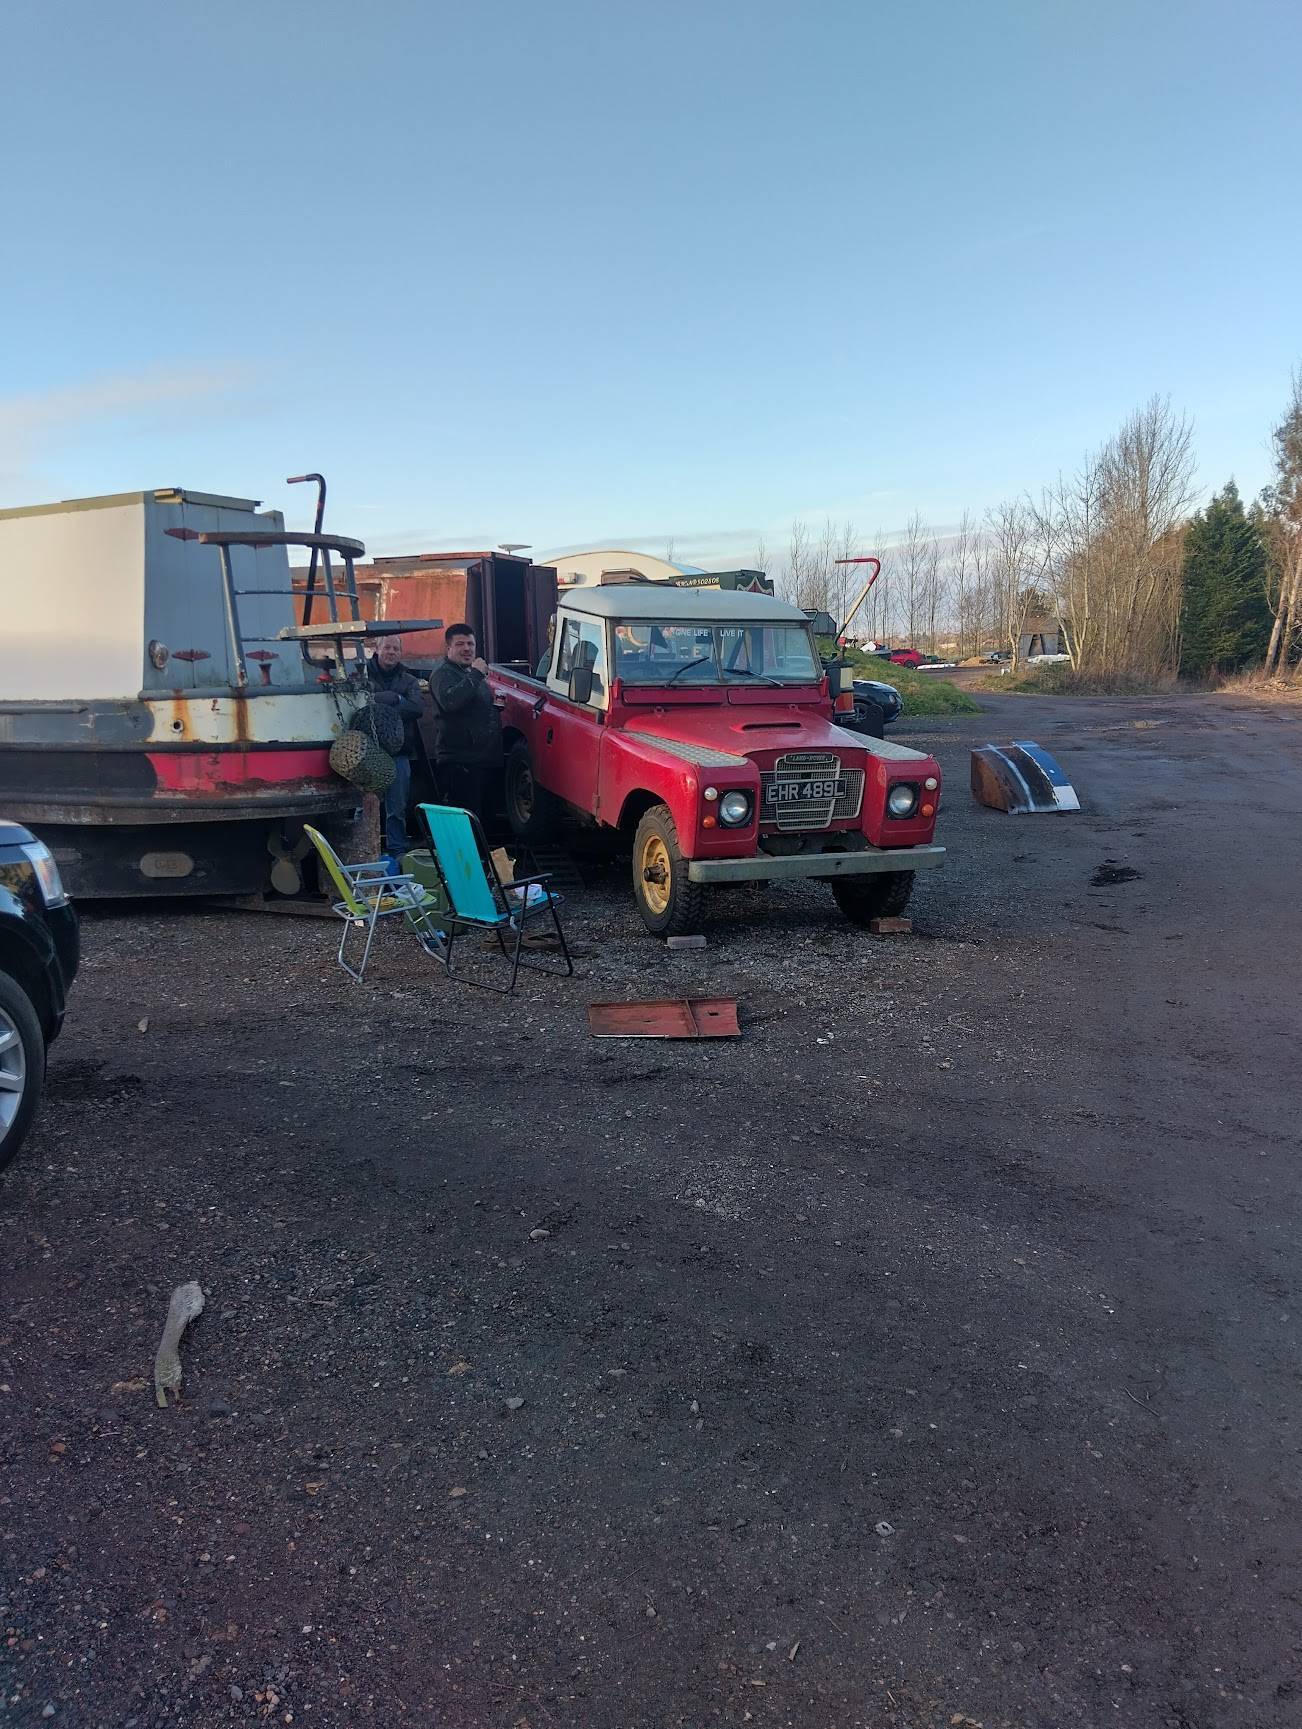
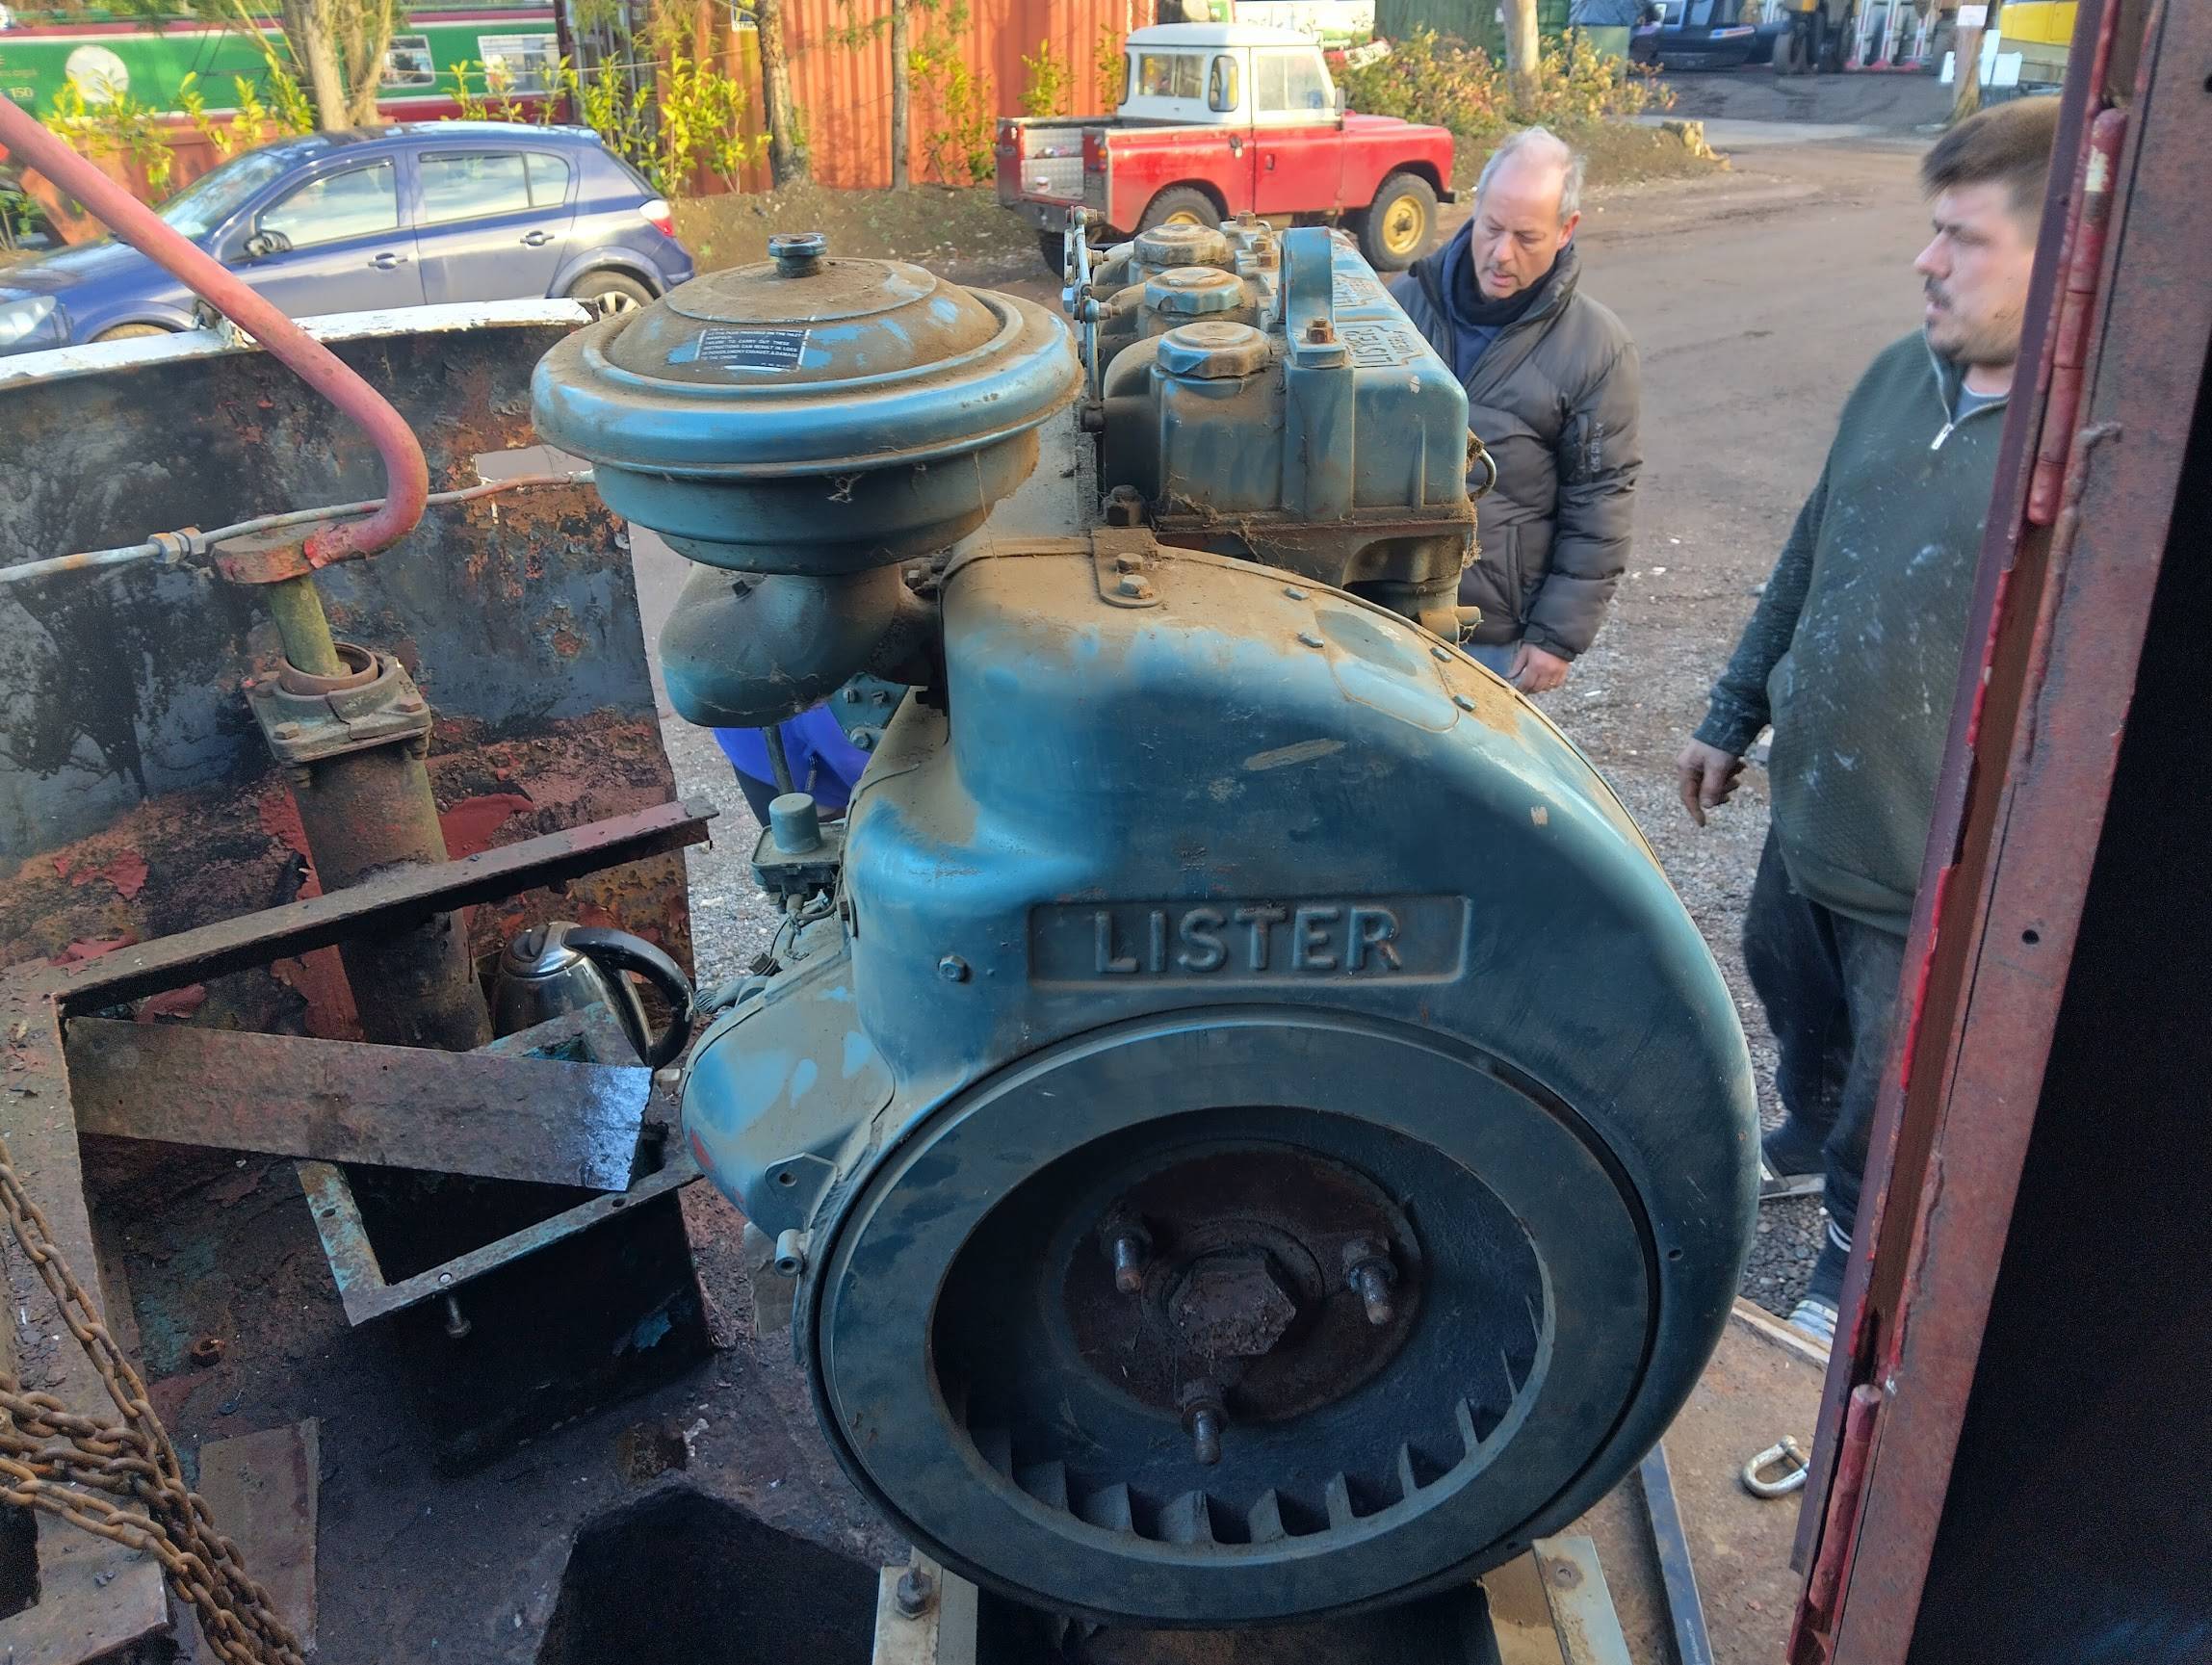
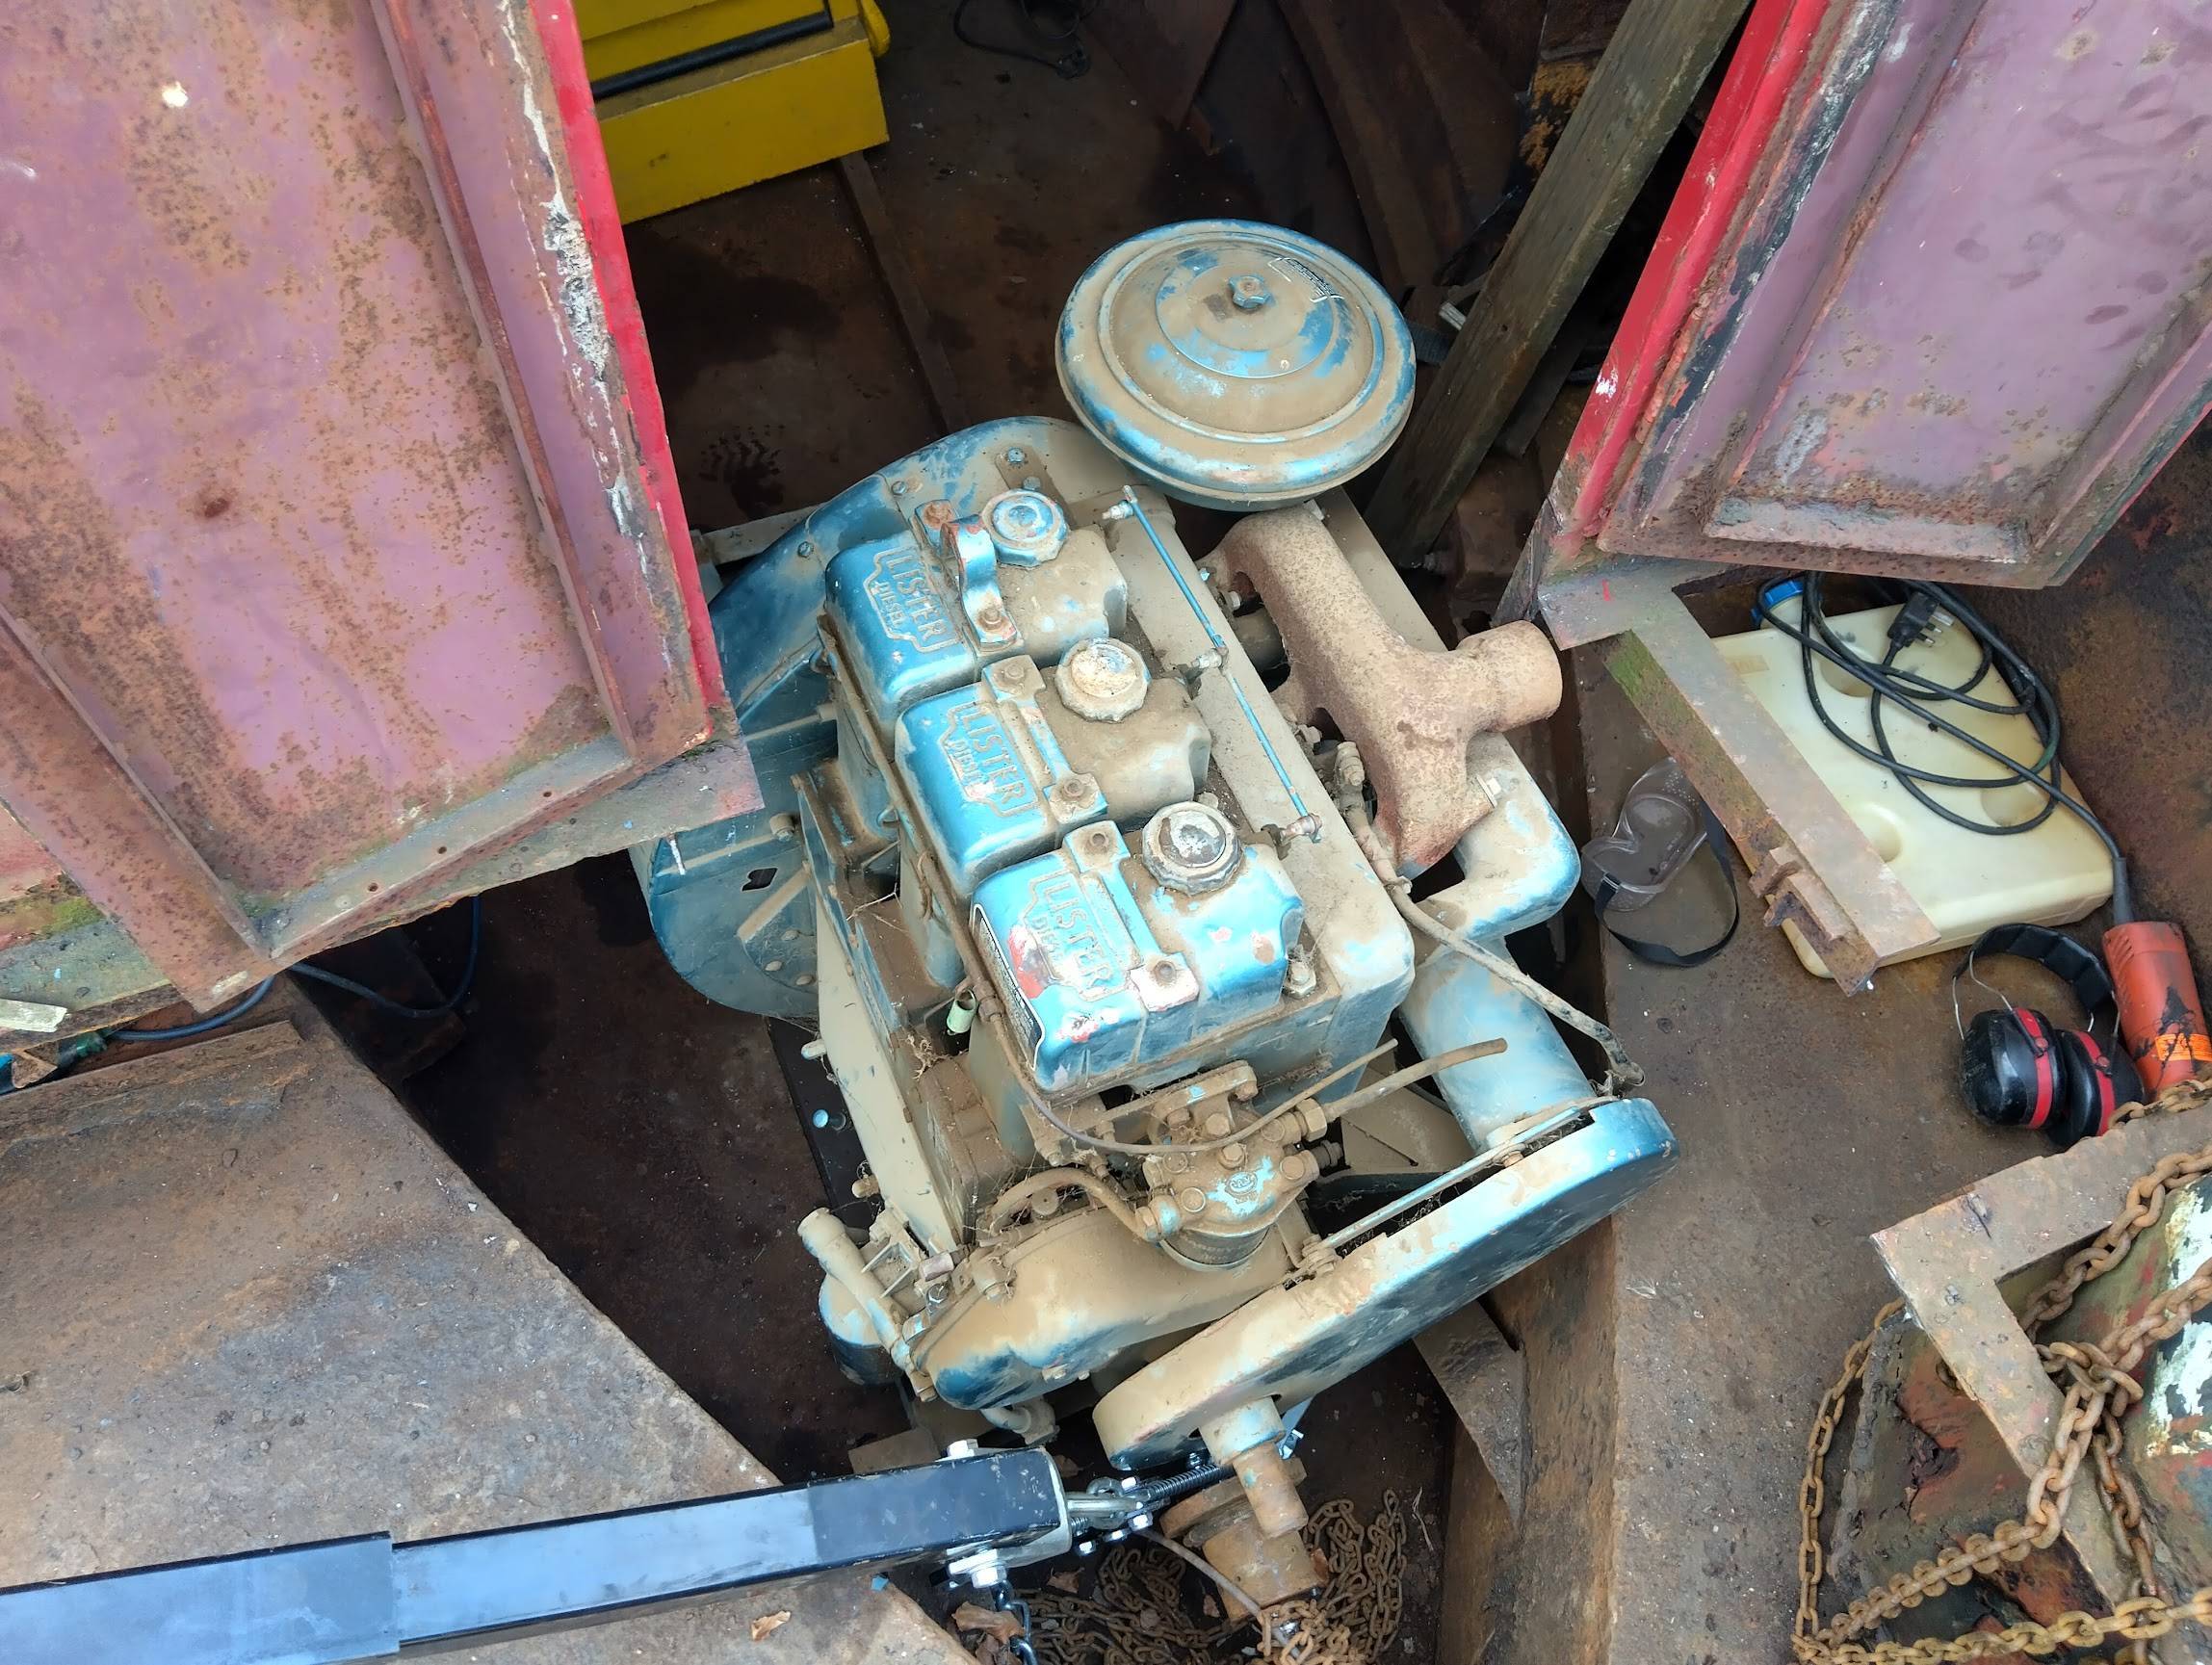
Well i'm frankly disappointed in you all... Not one guess at an engine. Lister HR3 is the answer. I picked up this genset with 5 hours on the clock from a local farm after a chance chat with someone who worked there. The SR3 mentioned earlier in the thread is fully rebuilt now (and very shiny) so if anyone wants a reverse rotation SR with electric start then give me a shout, happy for it to go cheapish as it's no longer needed In no way is it implied this was driven on the road with the engine in the back The reason i've gone for the HR3 is because by having the generator it gives me absolutely buckets of power (25 KVA...) for running kit like a washing machine, allows me to offset the engine from the centreline of the boat by running a 3 phase motor to drive the prop and I have a rough idea to build a workshop butty after this, and being able to plug that into 3 phase would be mega. To get it in was a bit of a game, step 1 was to cut a massive hole in the stern. Much of this needed replacement anyway and i've held off doing it for this reason After that the Land Rover could be backed up some ramps to get it level with the counter And the engine pulled off using a chain puller Then craned down with an engine crane In other news i've been distracted by painting other people's boats rather than my own... (Wey & Arun Canal Trust's dredger float) Still more to come

-
Paints and compatibility is a minefield, one of the next updates will contain some even more controversial stuff... Ultimately the best thing would be to shotblast everything back aggresively, prime with an active primer and follow it up with a topcoat system, all while keeping the shell dry and preferably at 20 degrees c. That simply isn't possible here, I can't remember the last time it was 20 degrees C and the only reason it isn't raining currently is because it's snowing! Withams Zinc Phos primer is absolutely OK for use as a primer over Vactan, I do concede you're losing the active benefits of the zinc phos bit but as it's the only primer approved for use under their bilge paint then it's the best option here. As a test sample i've tried it without a rust converter and it performs less well
-
Change one letter to make it bigger... Will be noisy but will be good noisy, will usually be constant speed running too
-
Registered historic as it's pre 1983 and currently taxed (and insured). It had a hiatus off the road to have lots of issues addressed a few years ago and is my daily driver now, the online MOT system doesn't always reflect historic exemptions (As a result I carry a photocopy of the V5 stating historic and the V112 with the exemption) Feel free to have a guess, it's era appropriate, 3 cylinder and not the one mentioned earlier in the thread Oh that's only the start, 2 jobs and a few other projects like to consume time too! Plenty of eating but not enough sleeping is the usual trend
-
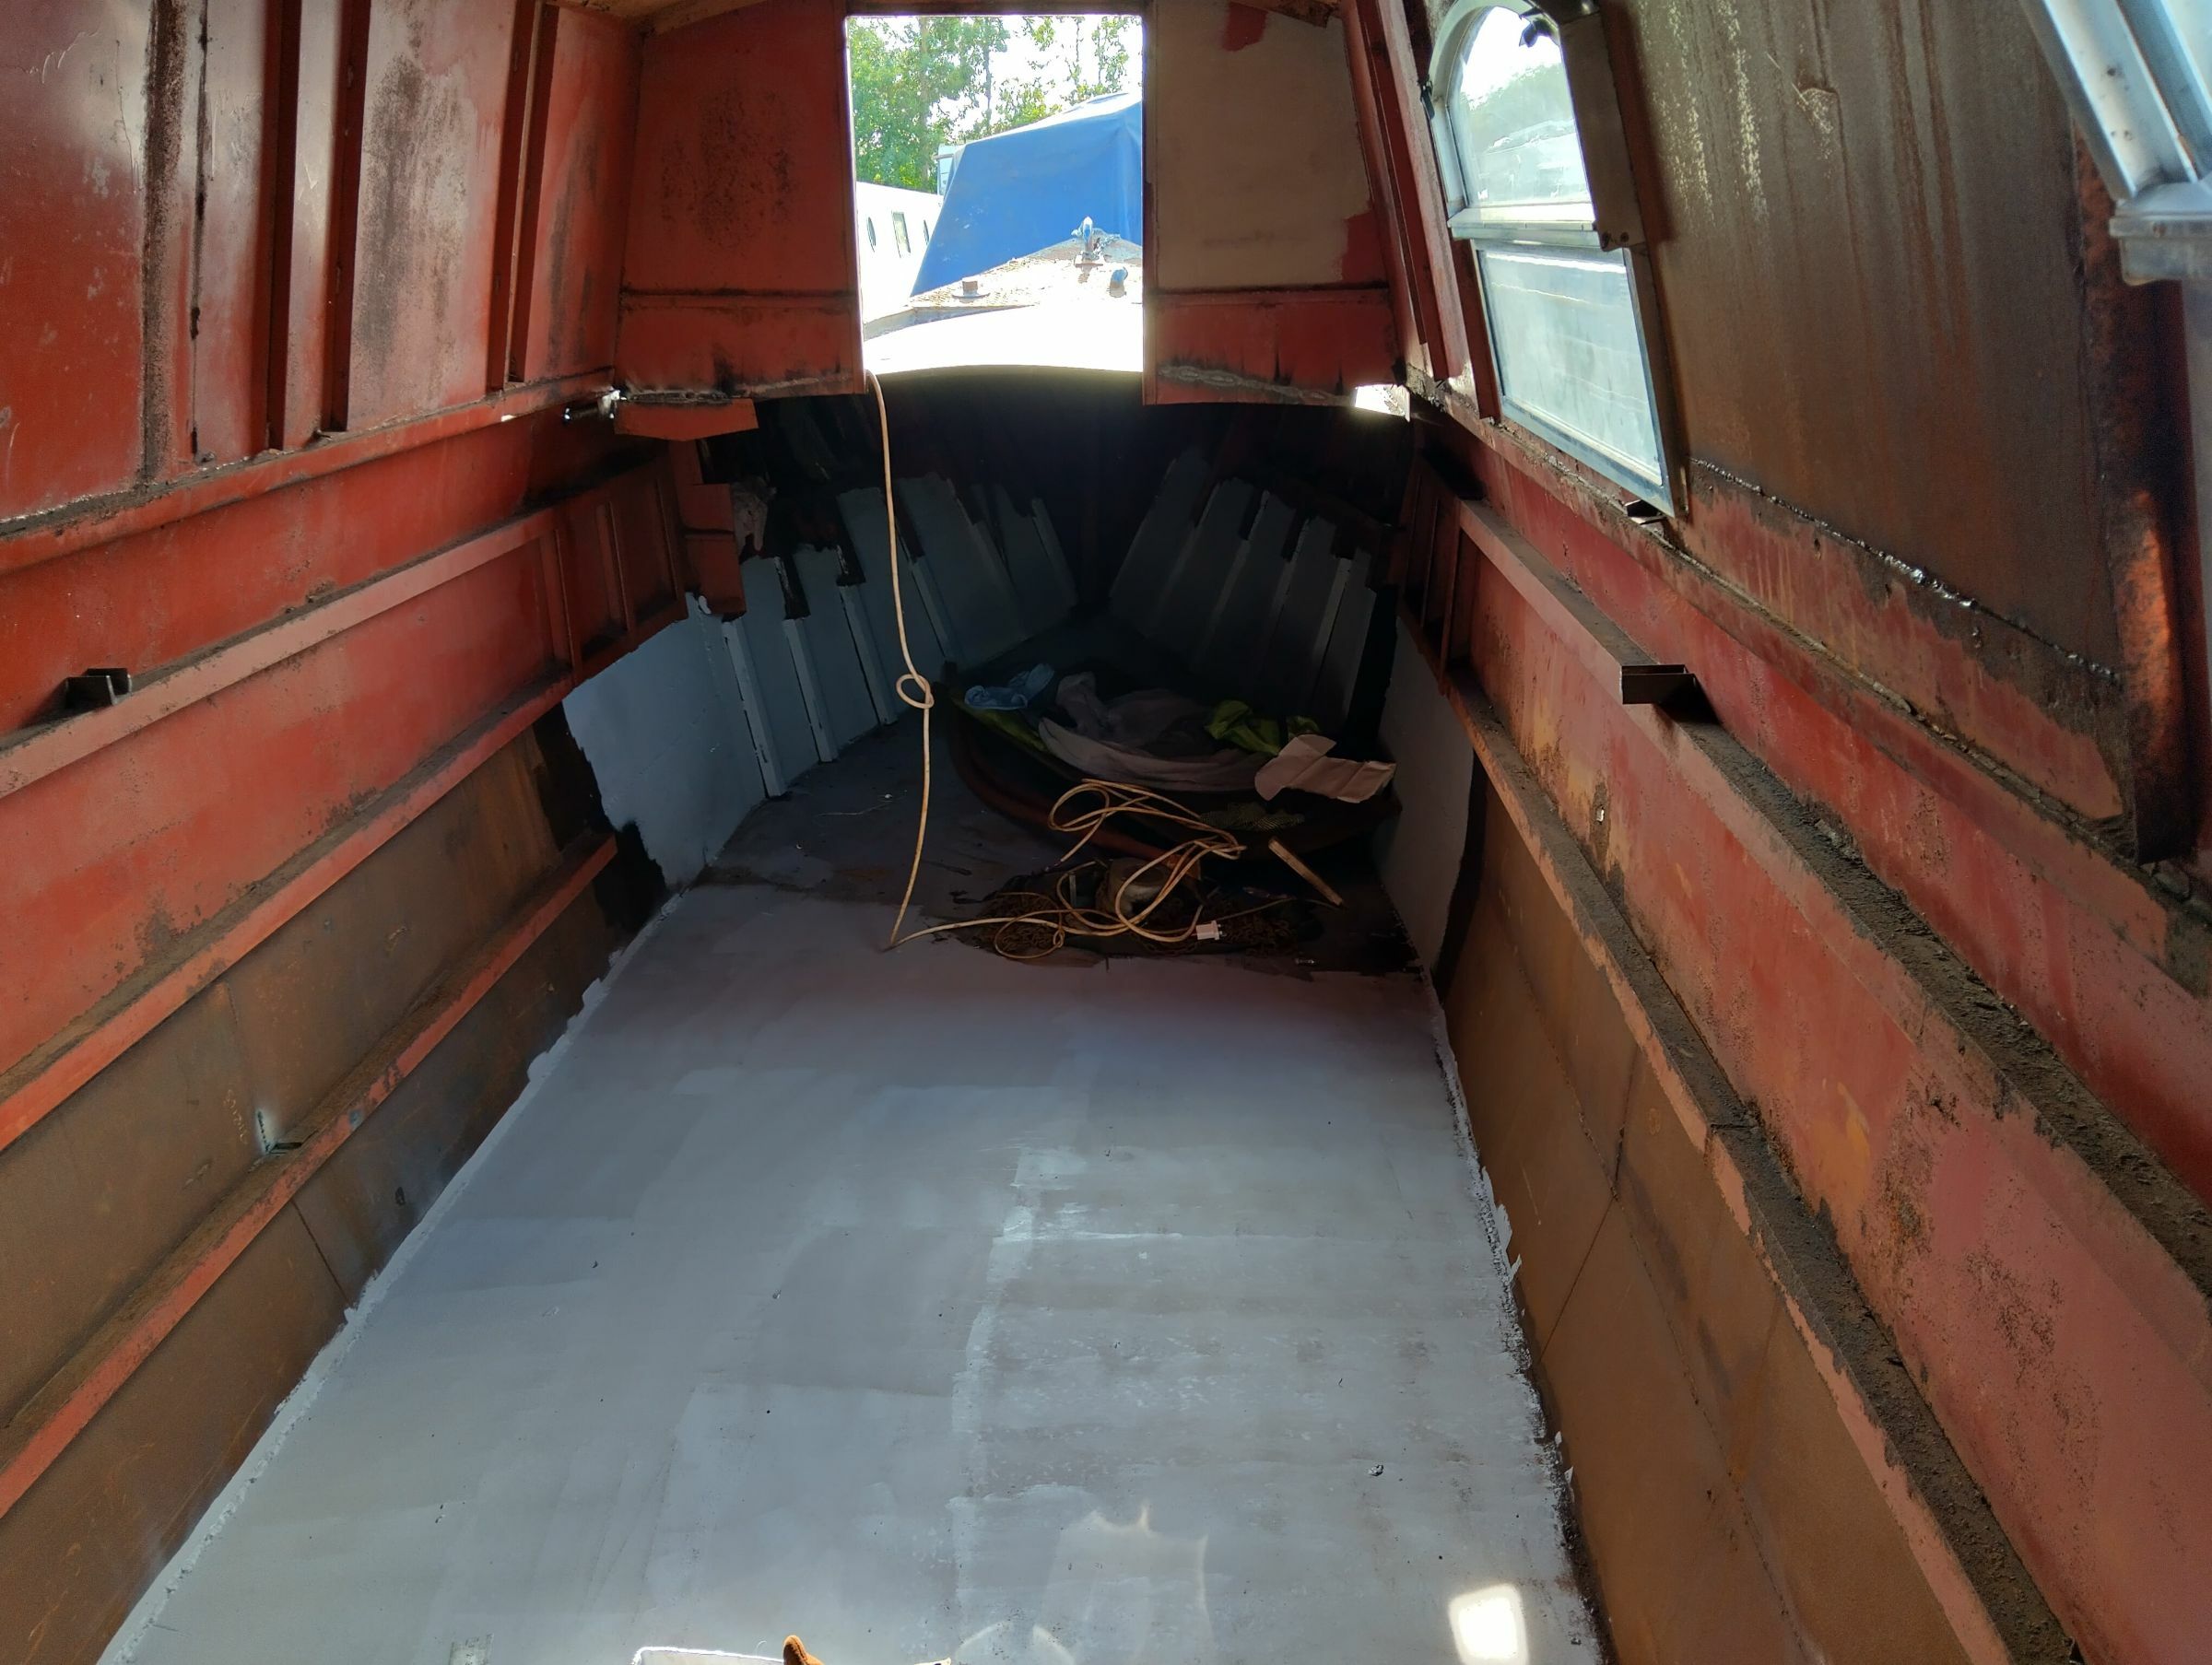
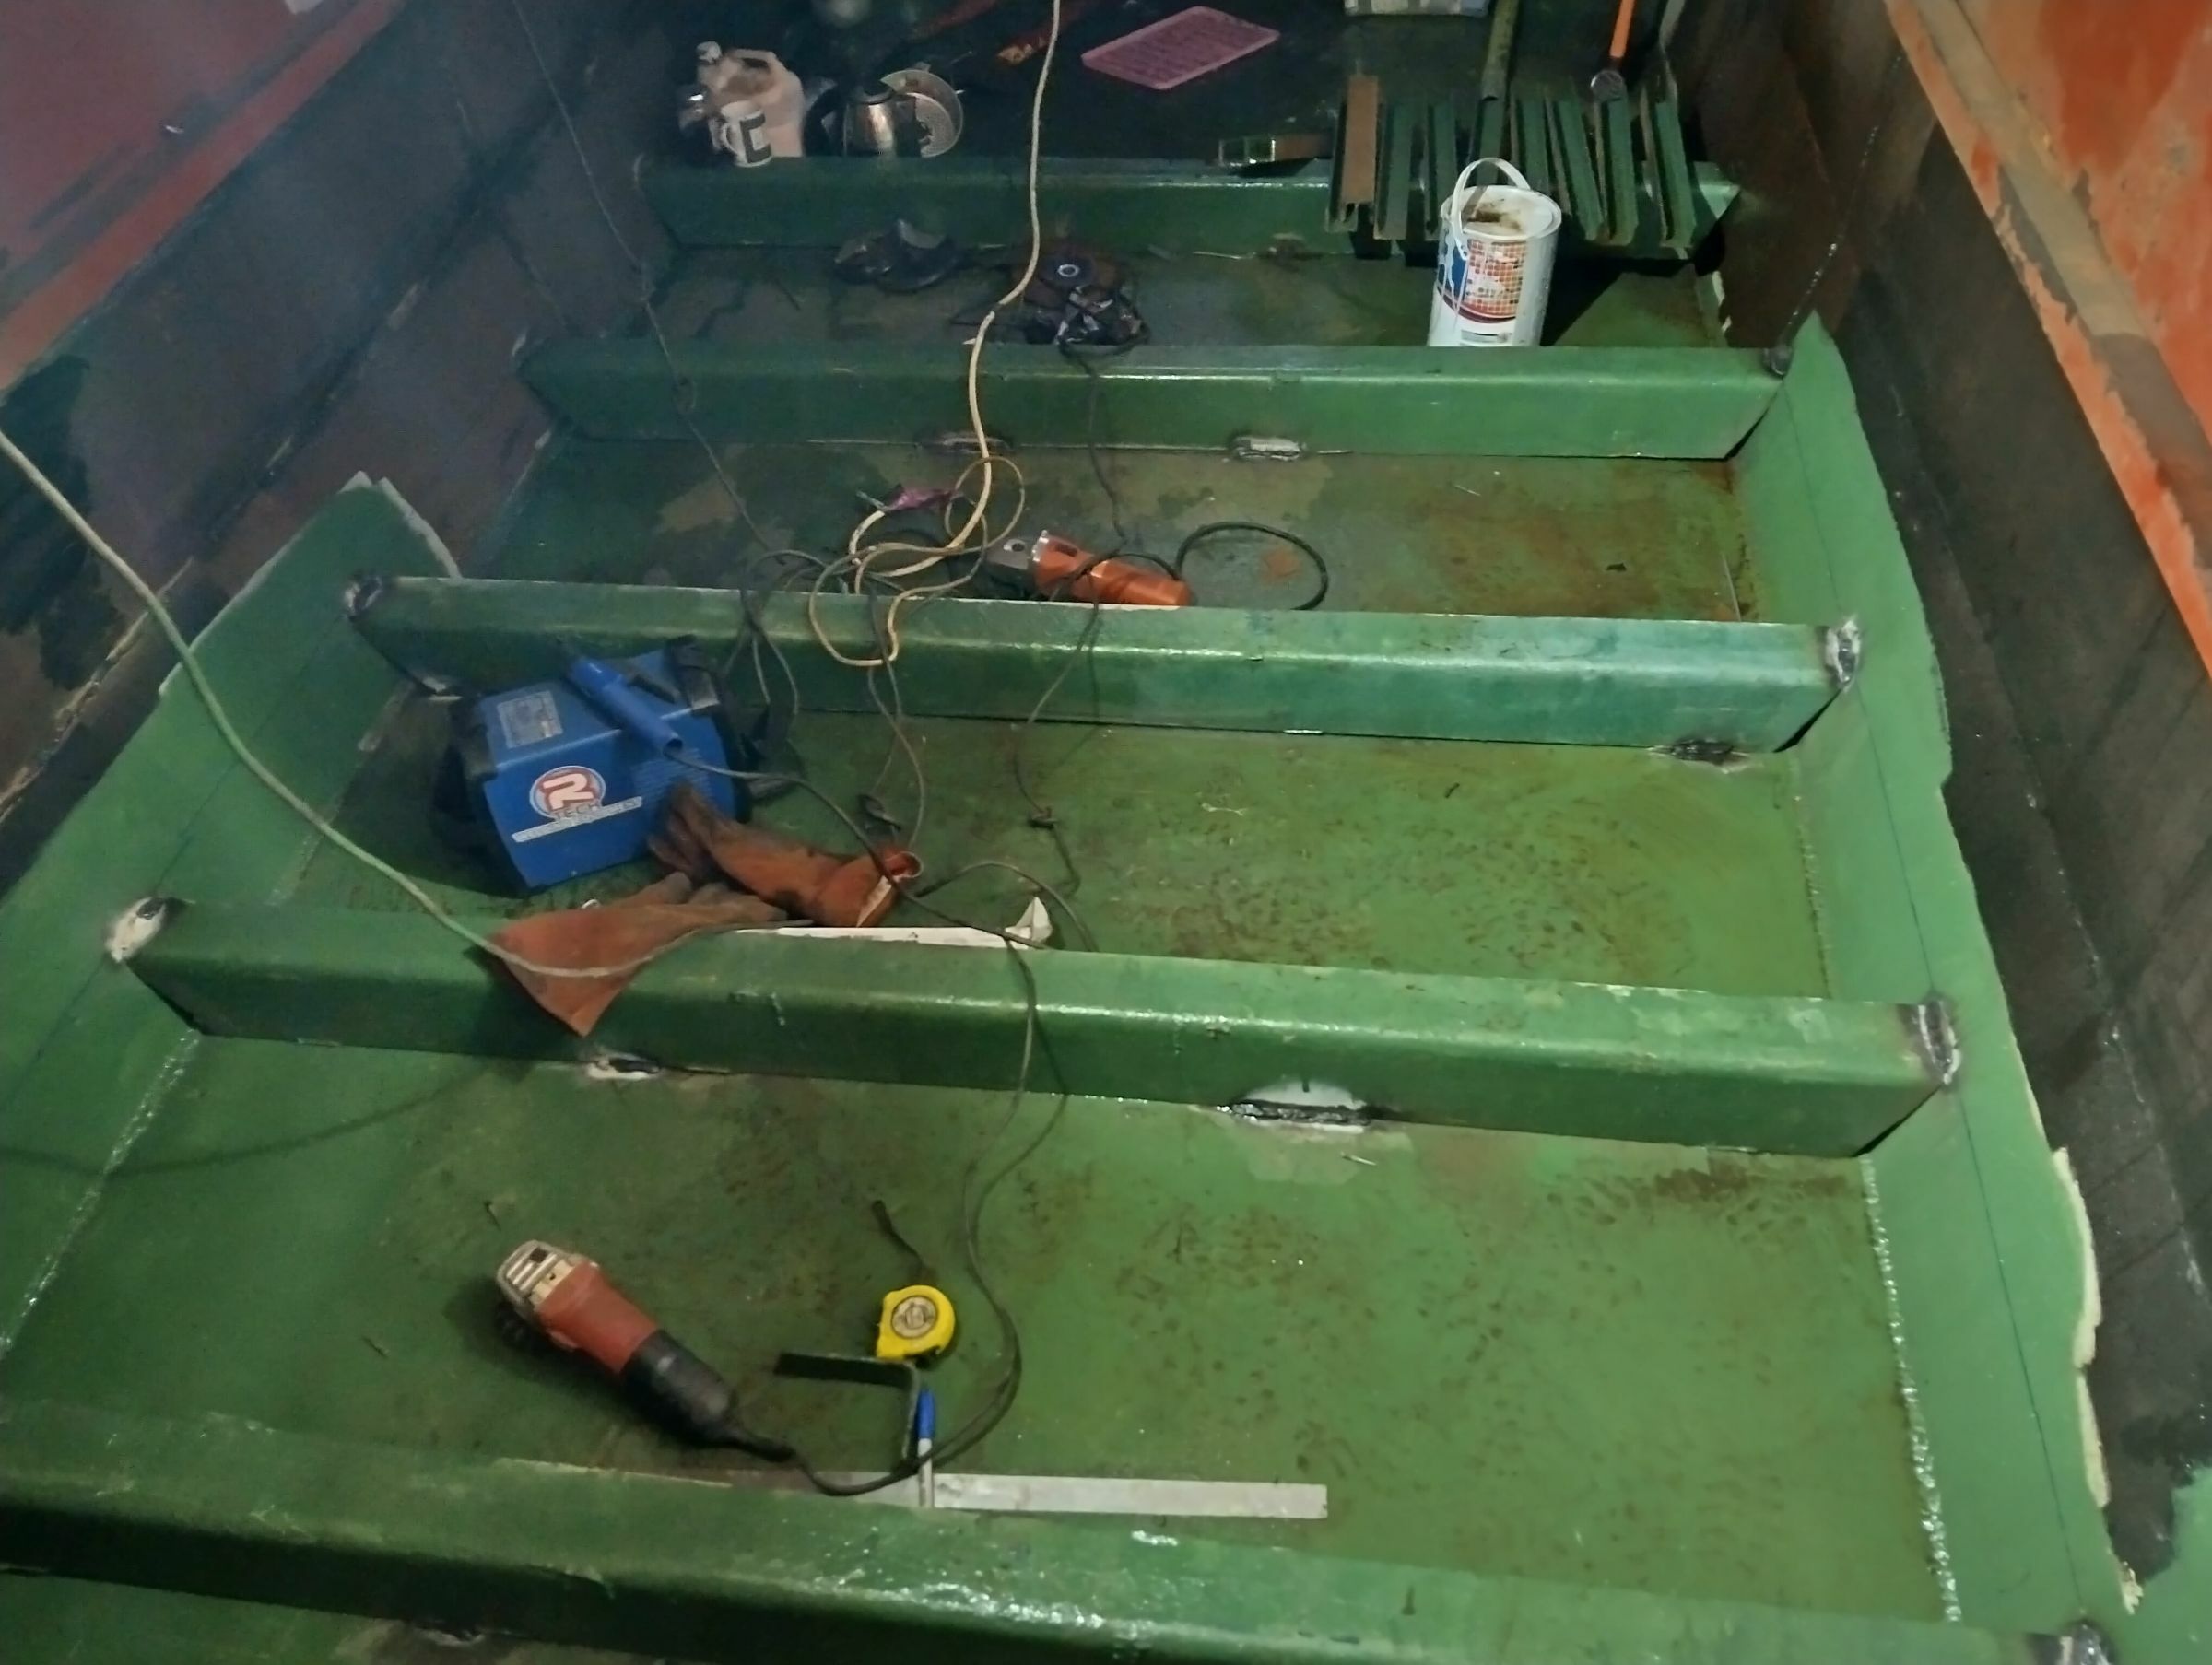
Time for another update So the idea is to get the front 1/2 of the boat liveable, while I finish off the last of the steel work on the stern, which allows me to spend a whole weekend there in relative comfort. Liveable to me, in this context, is dry, warm and able to be cleaned. Dry has been achieved, able to be cleaned is possible now its painted, but warmth was lacking. suppose i'd better put some insulation in then... I initially was dead set on sprayfoaming, however it isn't a DIY job (no matter what way you play it) and if you're getting someone in they really need to do the whole boat all at once for it to make financial sense, which isn't possible here, so I've gone for "Celotex" style boards. It gives a constant thickness of insulation which is nice, and I've bonded them to the hull with a generous amount of foam which hopefully leaves no gaps behind. First job was to batten the roof. There's quite a lot of curvature to the roof so I wan't really happy using timber bent to suit and I had some nice scavenged plywood offcuts (not sure exactly what it is but it's got lots of layers and is very solid) so I chose to make the roof battens out of ply cut to size. Because it's nice ply it does hold screws on its edge Templated one, cut them out, screwed and bonded them in. Then time to insulate the roof. The total thickness of insulation I want on the topsides is 50mm, which on the roof is made up out of two 25mm sheets bonded together. To wedge them in place I made props which force them into shape while the adhesive foam dries. Done! Reassuringly there was plenty of squeeze out from the foam, which shows its worked its way throughout the rear of the insulation. Cabin sides next, which were a tad simpler than the roof as they are flat 50mm sections, although I appear to not have taken a photo of them done, which is weird... Another thing to achieve liveability was to stick some doors on the front, so I drew a set up on CAD, produced some nice engineering drawings and comissioned a local company with a CNC plasma to knock a couple of sets up. Did they fit? Did they heck, too big. Quick measure and they were bent wrong, so I had to trim the sides off and re-weld them. Quite annoying but now rectified. Here they are fitted temporarily Still nowhere near up to date, so plenty more to come with more progress being made every weekend
-
I did, and they'll receive more coats when the floor gets lifted to ballast the shell
-
There is a fair bit of room for water to get past, I can get a finger between the hull side and crossmember on each of them Not planning to put timbers but thin ish (6mm or so) rubber pads on the crossmembers and longitudinals, which I hope should thermally isolate the floor from the hull as well as provide a bit of an air gap
-
Go on, I'll bite, what's wrong with a Boatman stove in your eyes? No riddler?
-
Aye but you want to try buying a bus off Airbus, the No 19 route has never been completed so quickly
-
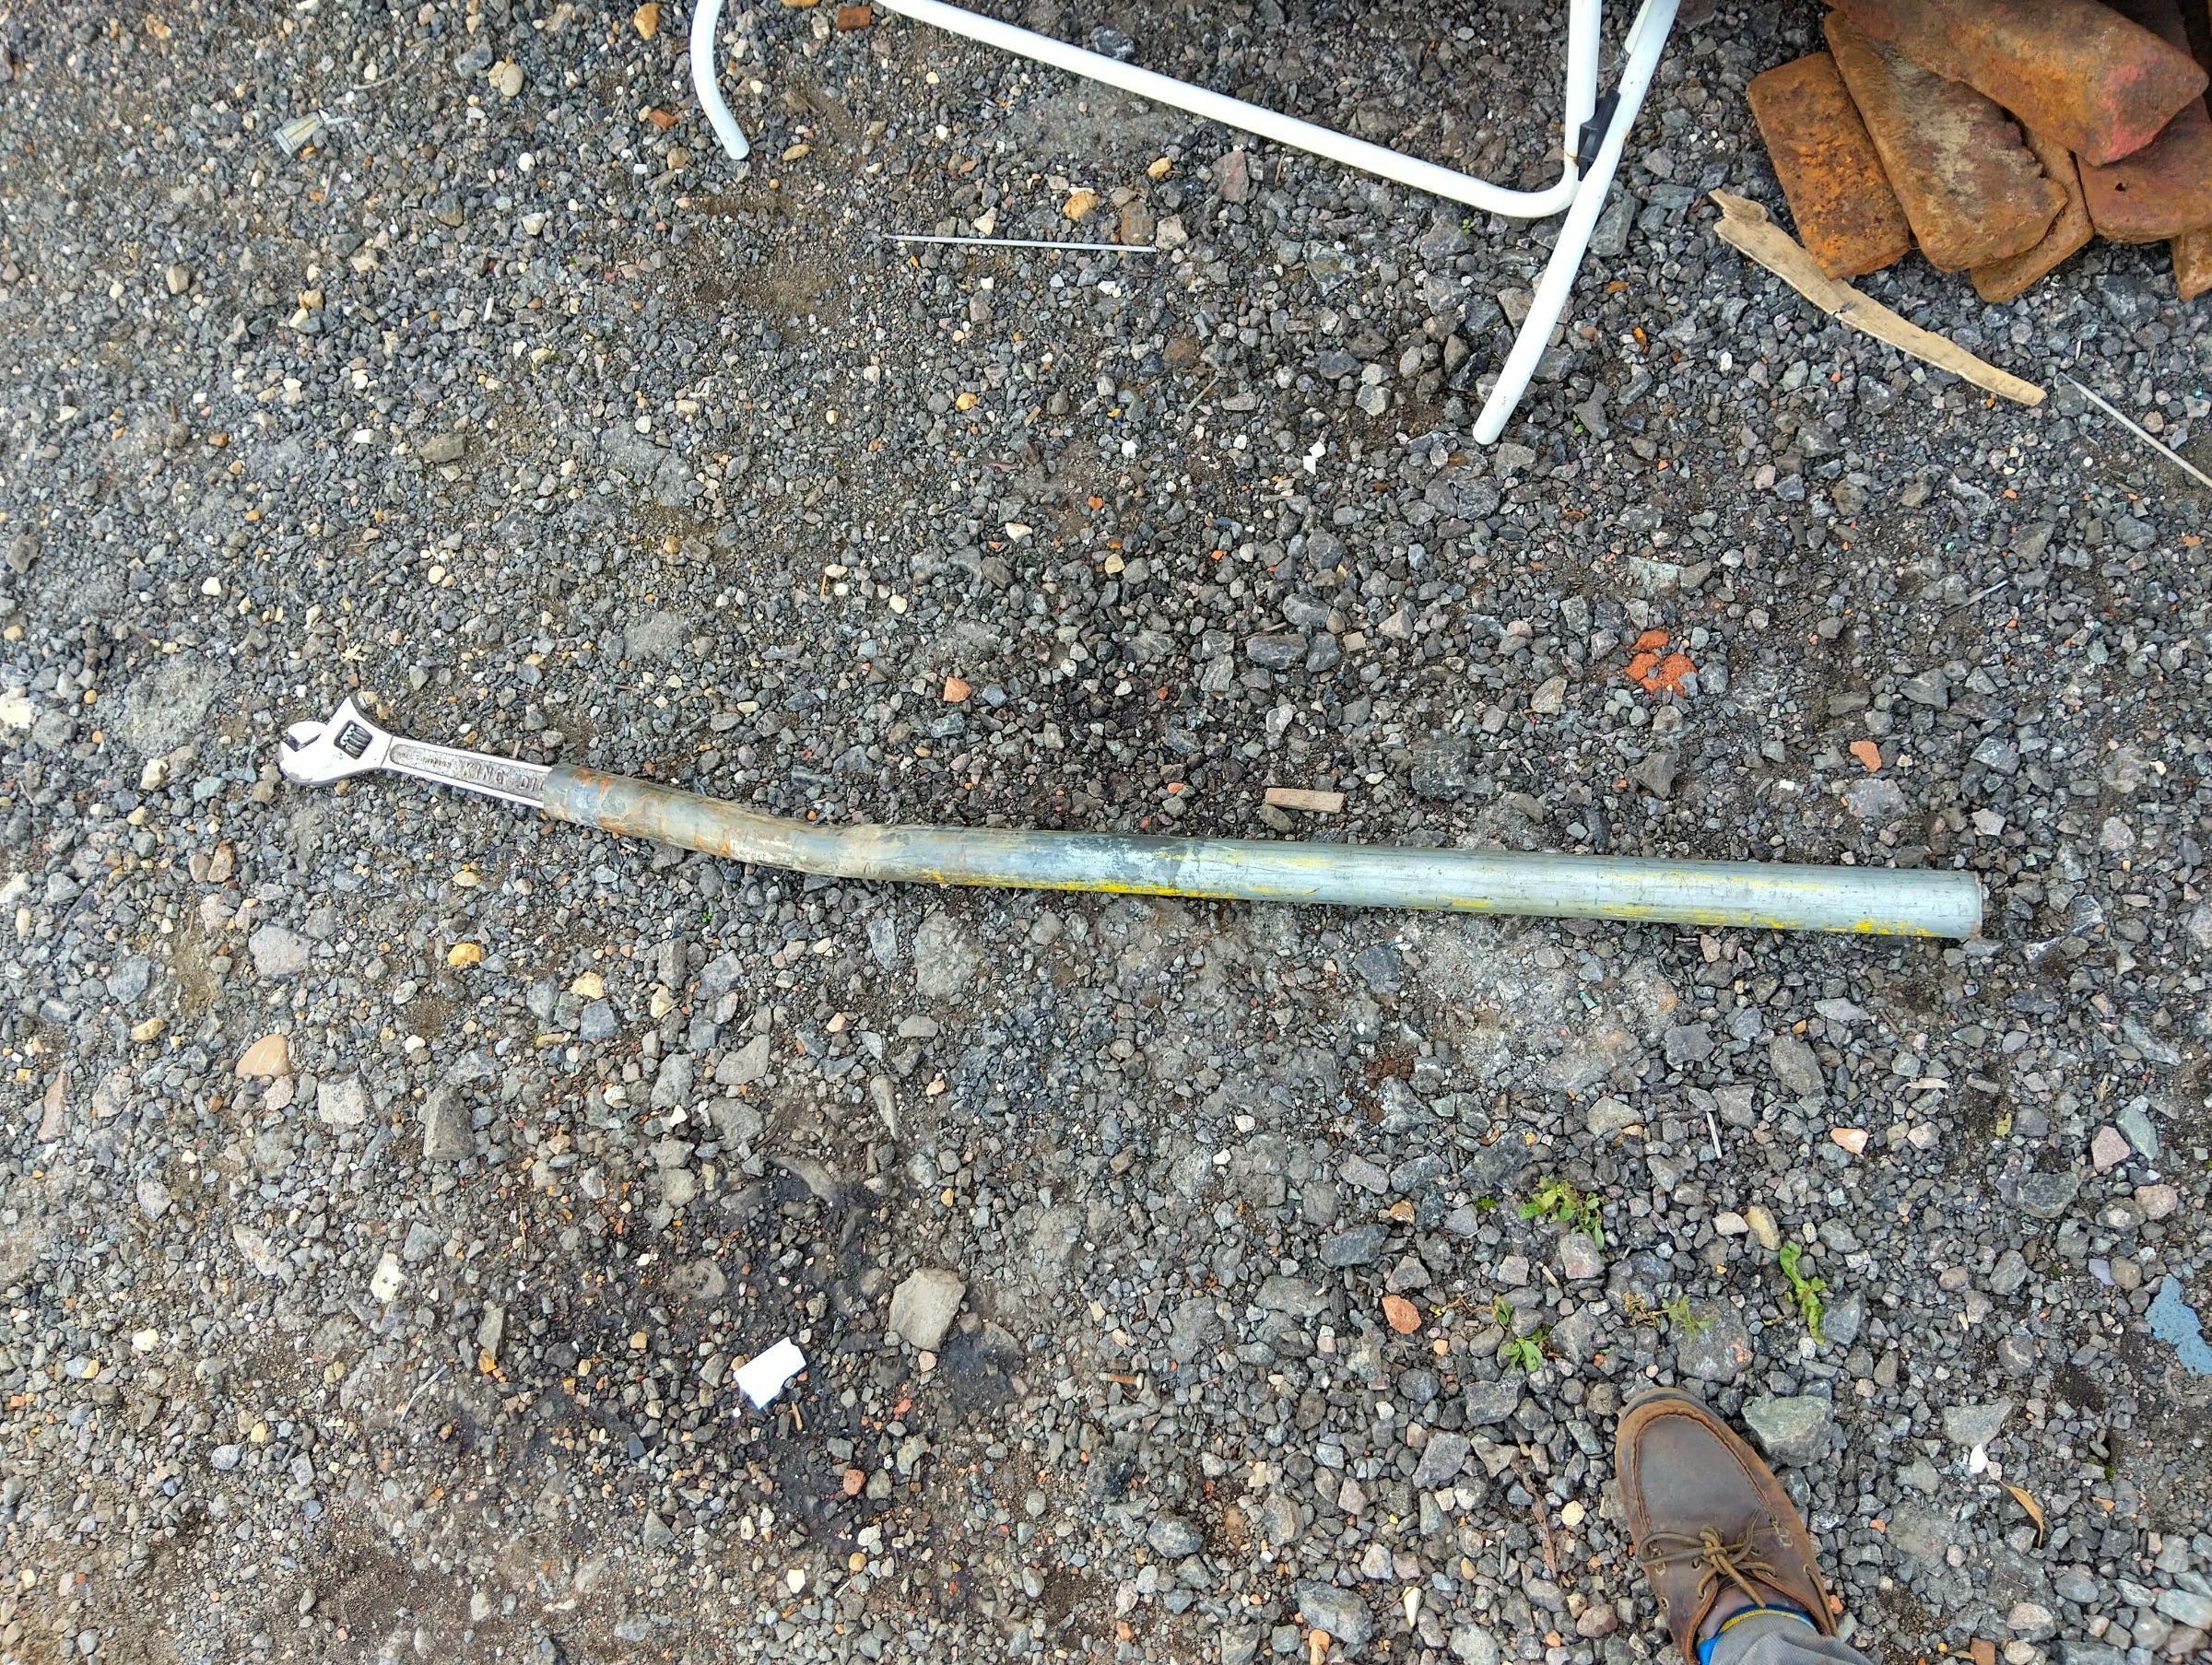
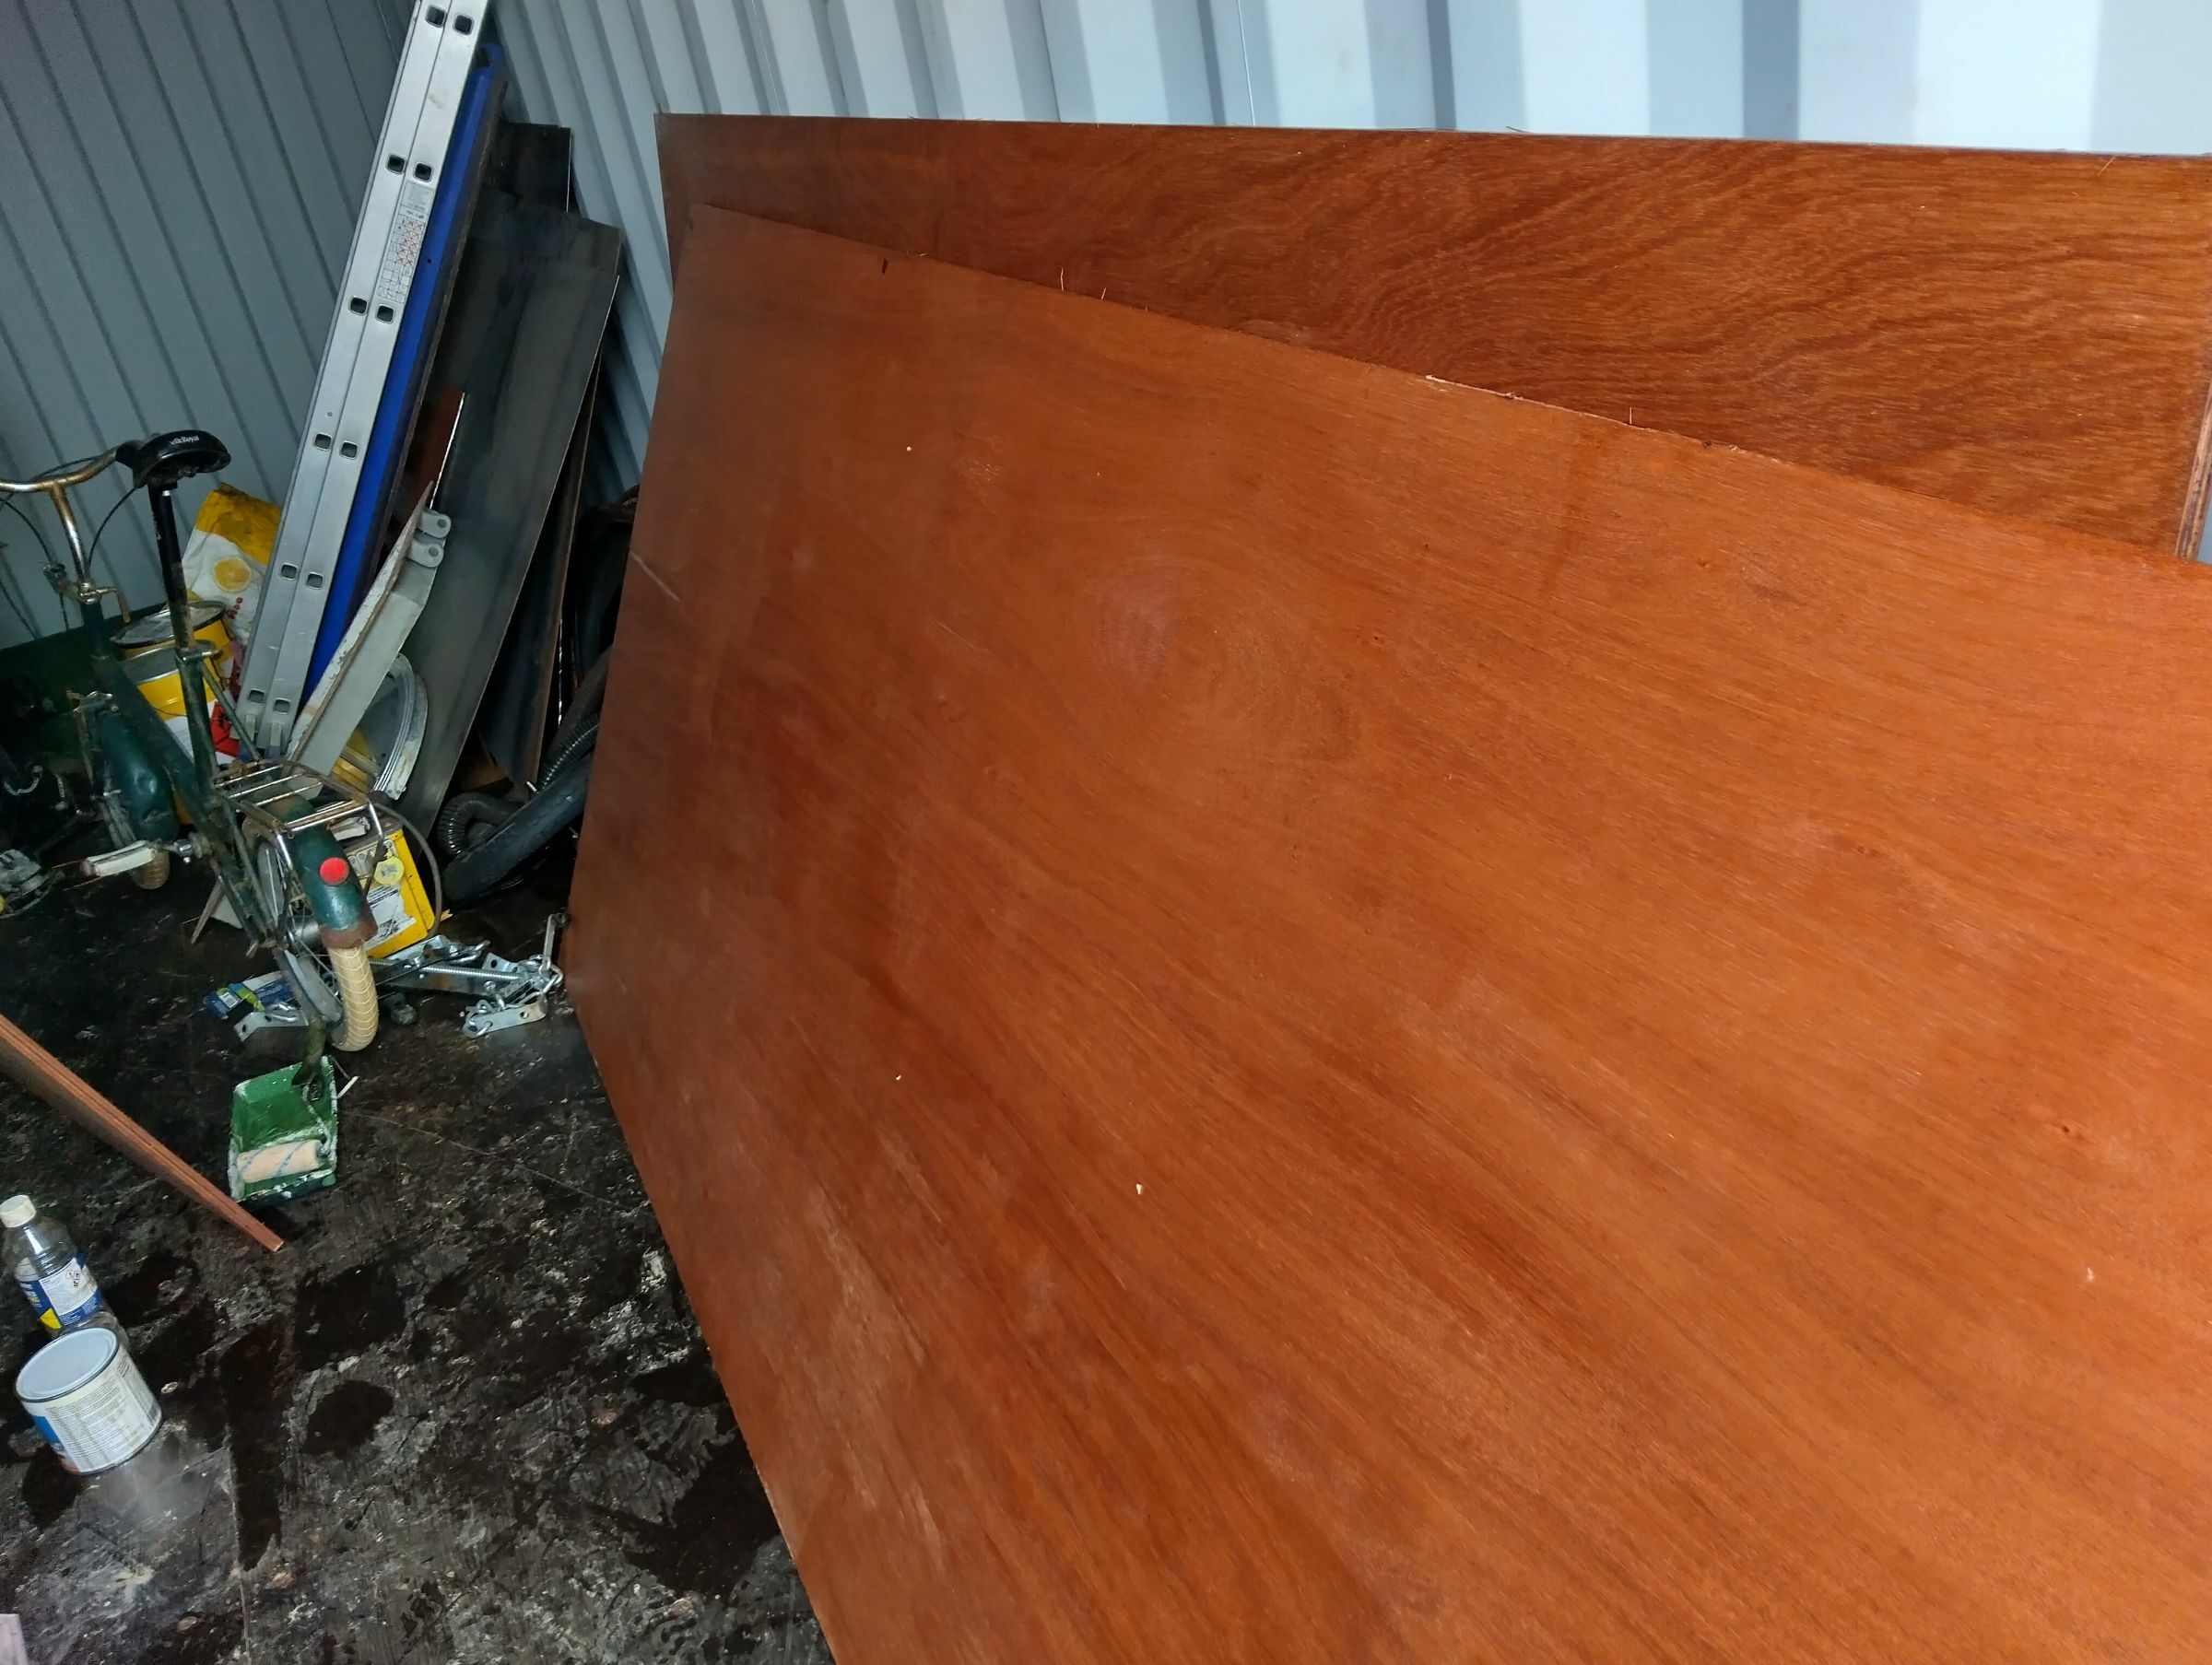
Let's fill in the timeline and get this thread up to date So after the tug deck was fitted and welded into place the drains were added (as was mentioned above). I opted for 1" tubing mitred to suit the angles of the gunwhale and tug deck edge respectively then welded in. Here's the only photo I currently have of one which was while I was tidying up the edge of it with a die grinder so doesn't really show you much After that the guard irons could then be reinstated. My method for doing this was to tack a piece of angle iron to the hull side, then balance one end of the strip on that while holding the other in position by hand and tack it at that end. All being well you can then go back along the elngth, tacking it then weld fully. They will be fully welded top and bottom but I'm going to fetch my MIG back to the boat to do underneath and that's currently tied up sticking my 2CV back together... (That's my Dad in the backround, really not sure why he's pulling that face?) Window holes were then cut and the double glazed windows shown earlier were then plonked in. They're actually still not fully attached but they will be held in with stainless self tappers. Not usually a fan of stainless screws but they are the most appropriate thing here To get the guard irons to conform to the shape of the bow requires them to twist, which requires a fair amount of force. Here's boatbuilding special tool No 147, a big spanner with a scaff bar attached. Which gives a result as shown here Meanwhile, inside the boat, it was time to start rust converting and get some paint down. Everthing fresh steel was given an aggressive going over with an 80 grit disc in a DA sander, then a decent coating of Vactan, then Zinc Phosphate primer, then green bilge paint. Here's some excerpts Painting at night under the bow. Note the hull side on the left in rust convertor Baseplate in first coat of primer The floor crossmembers mentioned earlier were also painted in bilge green before being welded into place. Note the gaps at their edges to allow water to drain past, and the reinforcing struts in the top right that span between them Where the paint was affected by welding it was then touched in and everything given another coat Before laying it the marine plywood floor was slathered in yacht varnish as I really don't want to end up replacing it And then it was cut up and placed down on the floor crossmembers, and the cabin top and sides given a de-rusting and a paint too. All of this interior work focuses on the front half of the cabin, the rear isn't being addressed just yet in the story. The astute amongst you will notice no mention of ballasting. Not because i've forgotten, simply because this floor is just being put down temporarily to give me somewhere to live while i'm at the boat (and has been a huge help in that). There's still a bit of hull work to do at the stern, and I'm keen to do a floatation test as soon as possible so the floor will be lifted and the boat ballasted prior to that More to update, but I bet that generates enough questions on its own!
-
Ultimately it's my boat, and I'm building it for me, in line with the applicable regs. I can't see it being for sale for quite a while nor used as a trip/hire boat so I'm not overly concerned, although it it all good to bear in mind. I can get out the front hatch without an issue, it's not going to be my main entrance but doesn't pose an issue. I've thought about break glass hammers etc, but the windows I've fitted are double glazed so I'm not sure how successful they would be and I'm really not planning to check!


-min.jpg.64d32d14090b2a040e97433afa5581ac.jpg)
.jpg.58db7778746724c01d28b58036720c88.jpg)
.jpg.e82ca9626bc8b826976825c881e94513.jpg)
.jpg.75c857f87277118b373eafa5736f80bf.jpg)
.jpg.542257b6ef799ab7a31d193a5bd86510.jpg)
.jpg.0098fe6fdb517819126e4346fb1656f7.jpg)